This article was created in partnership with Alibaba Cloud. Thank you for supporting the partners who make SitePoint possible.
Think you got a better tip for making the best use of Alibaba Cloud services? Tell us about it and go in for your chance to win a Macbook Pro (plus other cool stuff). Find out more here.
Mina is a deployment automation tool and a deploy Bash script generator from the Rails world, which came into the spotlight after development companies noticed its advantages over Capistrano. Mina, in contrast to Capistrano, uses only one SSH connection to the deployment server, and executes a batch of bash commands there. This makes it a lot faster than Capistrano, which opens a separate SSH session for every command.
In this article we will go through setting up Mina for the deployment of a basic Django app - an unorthodox toolset for the Django world, which tends to use Docker or Fabric more. Given Mina's simplicity and flexibility, we feel it is worth exploring its use in the deployment of Python web apps.
Django, a "web framework for perfectionists with deadlines," has been around for some time now. It started off as a content-management oriented web framework, created in-house by web developers at Lawrence Journal World for its news web portal. It was published in 2005, and from there it took off and the rest is history. It became one of the most serious and widely adopted web frameworks, competing with Ruby on Rails. It is in use by Instagram, Disqus, the Washington Times, Mozilla, Bitbucket and others. It's still thriving.
Django docs suggest Apache with mod-wsgi as the first-choice, and it may be a prevalent option. But since we are performance-obsessed, for this tutorial we decided to cover the deployment of a Django application to Alibaba's ECS cloud instance with an NGINX and uWSGI stack.
NGINX is a web server notorious for its efficiency, being event-based, and it includes caching options, so it is often an ideal solution. uWSGI is an application server container - an implementation of WSGI, Python's standard web interface. It plays along with NGINX very well.
Getting Started
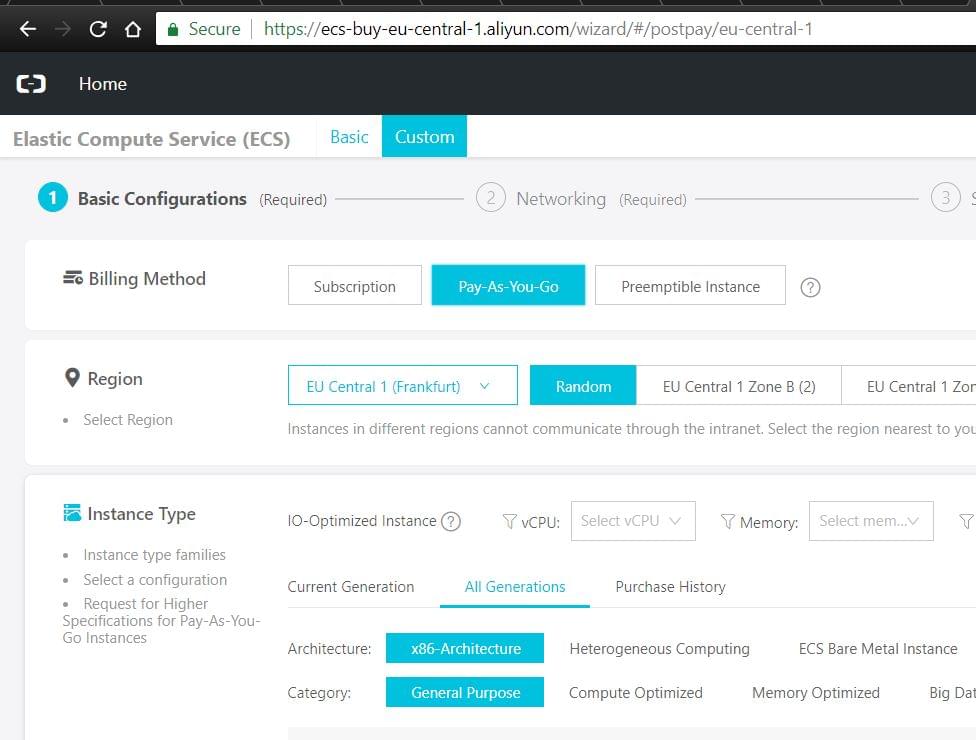
The first thing we will do is create our ECS instance in the Alibaba Cloud backend console.

The process is straightforward. We will choose Ubuntu 16.04 LTS for our operating system / OS image. Upon creation, we will want to make sure our instance is assigned to proper security groups. In Alibaba terminology, these are firewall rules for different ports. This is usually something that works by default, but in case of any issues with web access to our instance later on, make sure to check this off.
The security groups page can be accessed through the Elastic Compute Service submenu on the left.
The next thing to do upon creation of our instance is to set it up for SSH key access.
Perhaps the most straightforward way to do this is to set the instance up, at creation, with a password. Then we can just do the standard ssh-copy-id from our starting system - presumably a local device.
ssh-copy-id root@xxx.xxx.xxx.xxx, executed from our local device (where we will replace the xxx... sequence with our Alibaba ECS instance public IP address) will prompt us for the password, and upon typing it, our key-based access should be set up.
When we log into our instance via ssh, we will do apt-get update to make sure our apt sources are up to date, and then we install git, curl, wget: apt-get install git curl wget -y
Installing the Server Environment
The default Python version that comes as default with Ubuntu 16.04 LTS is the ancient 2.7. In order to run the latest version of Django, we need Python 3+. One of the less painful ways to fix this is to install pyenv, a Python version manager.
It allows us to change the Python version used globally, or per-project. Before we install pyenv, as per the pyenv wiki, we will install prerequisites:
apt-get install -y make build-essential libssl-dev zlib1g-dev libbz2-dev libreadline-dev libsqlite3-dev llvm libncurses5-dev libncursesw5-dev xz-utils tk-dev liblzma-dev zlib1g-dev libffi-dev
Then we can install pyenv:
curl -L https://github.com/pyenv/pyenv-installer/raw/master/bin/pyenv-installer | bash
Upon completion, the pyenv installer will prompt us to add a couple of lines to the ~/.bash_profile, which we will do:

Now we update the PATH in our working session by doing source ~/.bash_profile in our terminal.
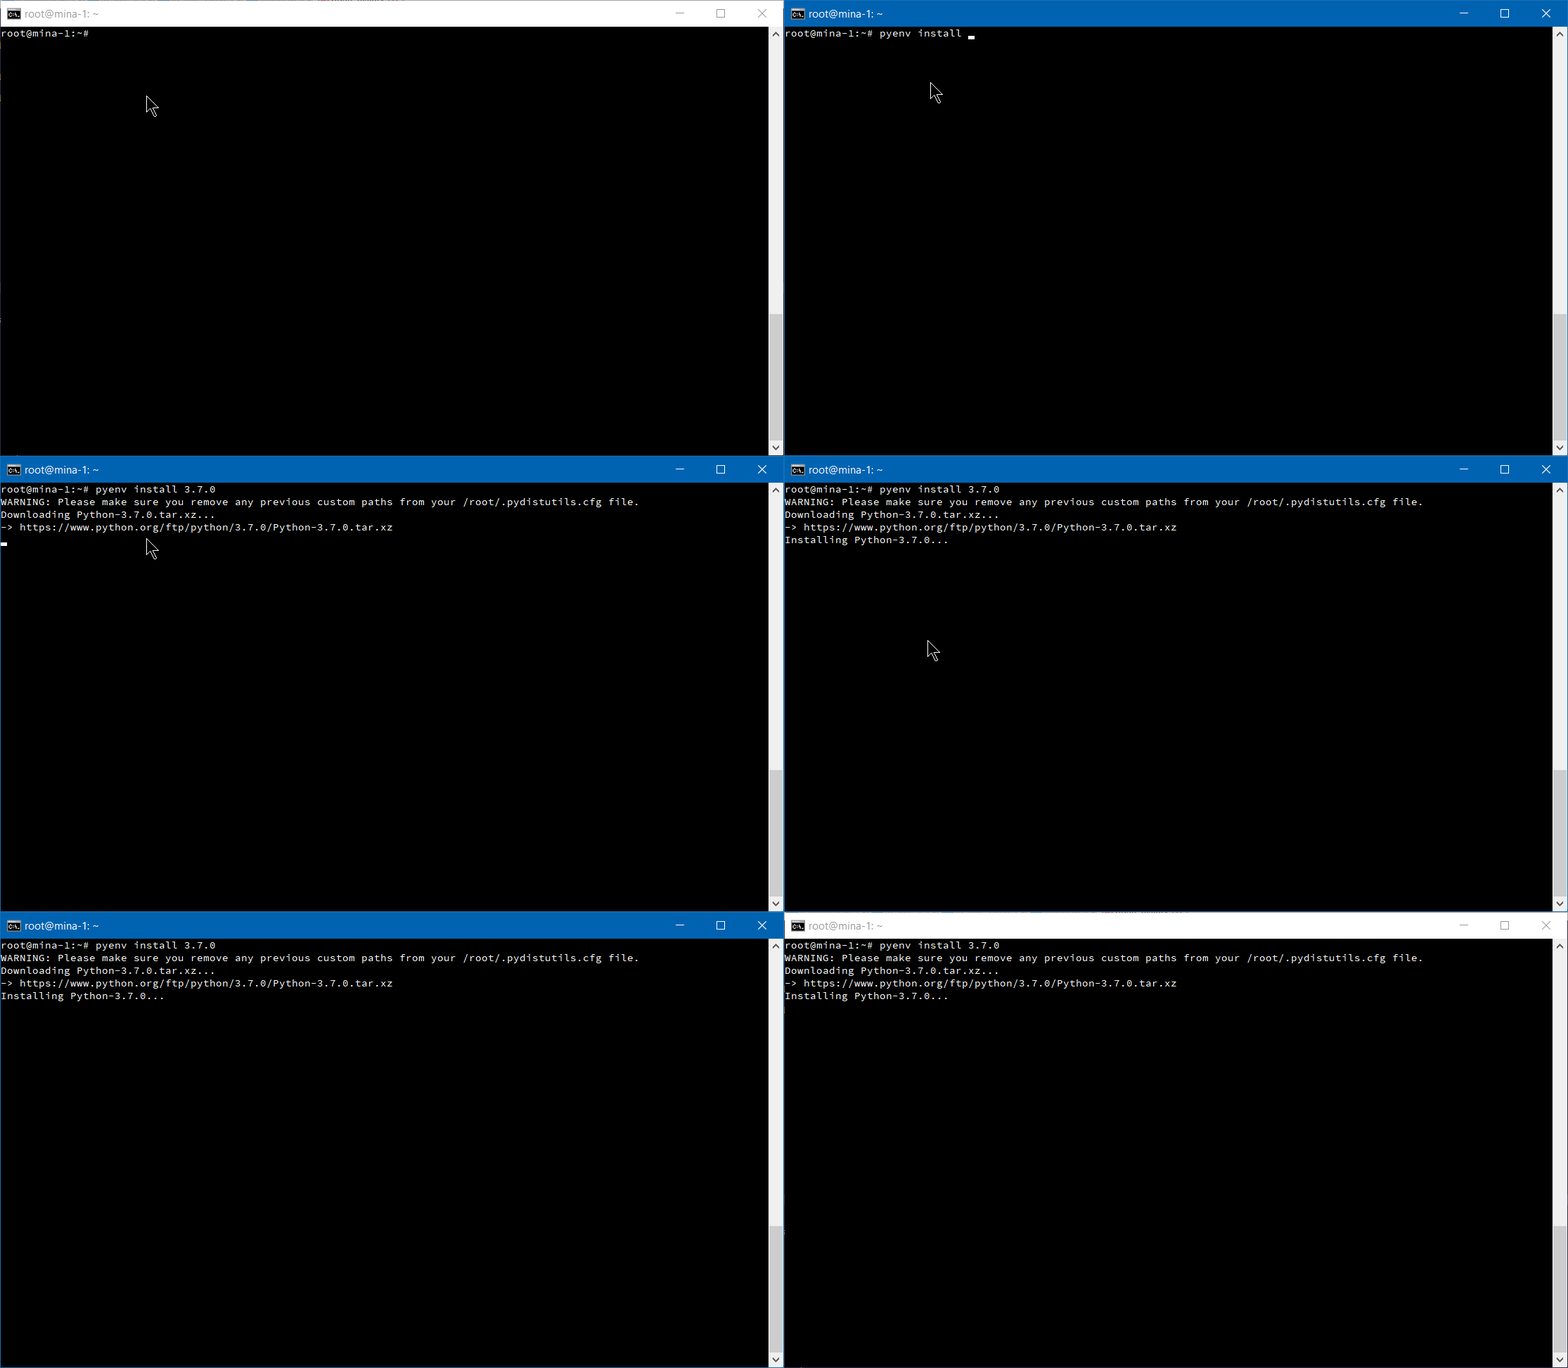
Provided that we did this correctly, we should now be able to install Python version 3.7.0:

Doing pyenv versions in the server terminal should show us two items now: system and 3.7.0, presuming that we installed the 3.7.0 version successfully.
pyenv global 3.7.0 will make our 3.7.0 version the global python version on our system. Should you have issues with pyenv, this is the url to visit.
Server stack
The usual default with Ubuntu images is Apache server, which comes preinstalled. If it is running, we should stop it with service apache2 stop, and then install nginx with apt-get install nginx -y. This should install and start the NGINX server, which should be visible when we visit our server's public IP address.
We will also install uWSGI: pip install uwsgi (Python pip is presumably installed when we installed pyenv).
We will also make sure we have Django installed: pip install django. We could be using virtualenv here to ensure a contained isolated environment for our app, but for the sake of keeping this tutorial simple, we will skip it.
In more complex cases, though, it is probably a wise choice.
This guide presumes we have directed our domain's A records to our server IP address, so myxydomain.com is presumed in the rest of this guide to be pointed to our ECS server's public IP.
Now we will create the NGINX virtual host for our website. The file can be found here. We will just go over couple of things:
server unix:///tmp/minaguide.sock;
Here we are connecting - with NGINX - to the Unix socket that uWSGI will create in the /tmp directory, and /tmp is recommended for otherwise possible permissions complications that may arise from a more complex directory tree. This is what /tmp is for.
include /root/project/minaguide/uwsgi/uwsgi_params;
This (/root/project/minaguide) is a directory of our django project on the server, and within it, we will have a uwsgi subdirectory with a uwsgi_params file, which will hold some uWSGI variables. We will come back to this later, and to setting up our uWSGI app.
We now have the base server environment we need for deployment.
Setting Up Mina
We are setting up Mina on the machine from which we are doing the deployment. Presuming the device is also Linux / Ubuntu (and things shouldn't be much different for Mac users - nor for Windows users, as long as they use Windows Subsystem for Linux ), we will want to make sure we have Ruby and rubygems installed - apt-get install ruby -y should do the trick.
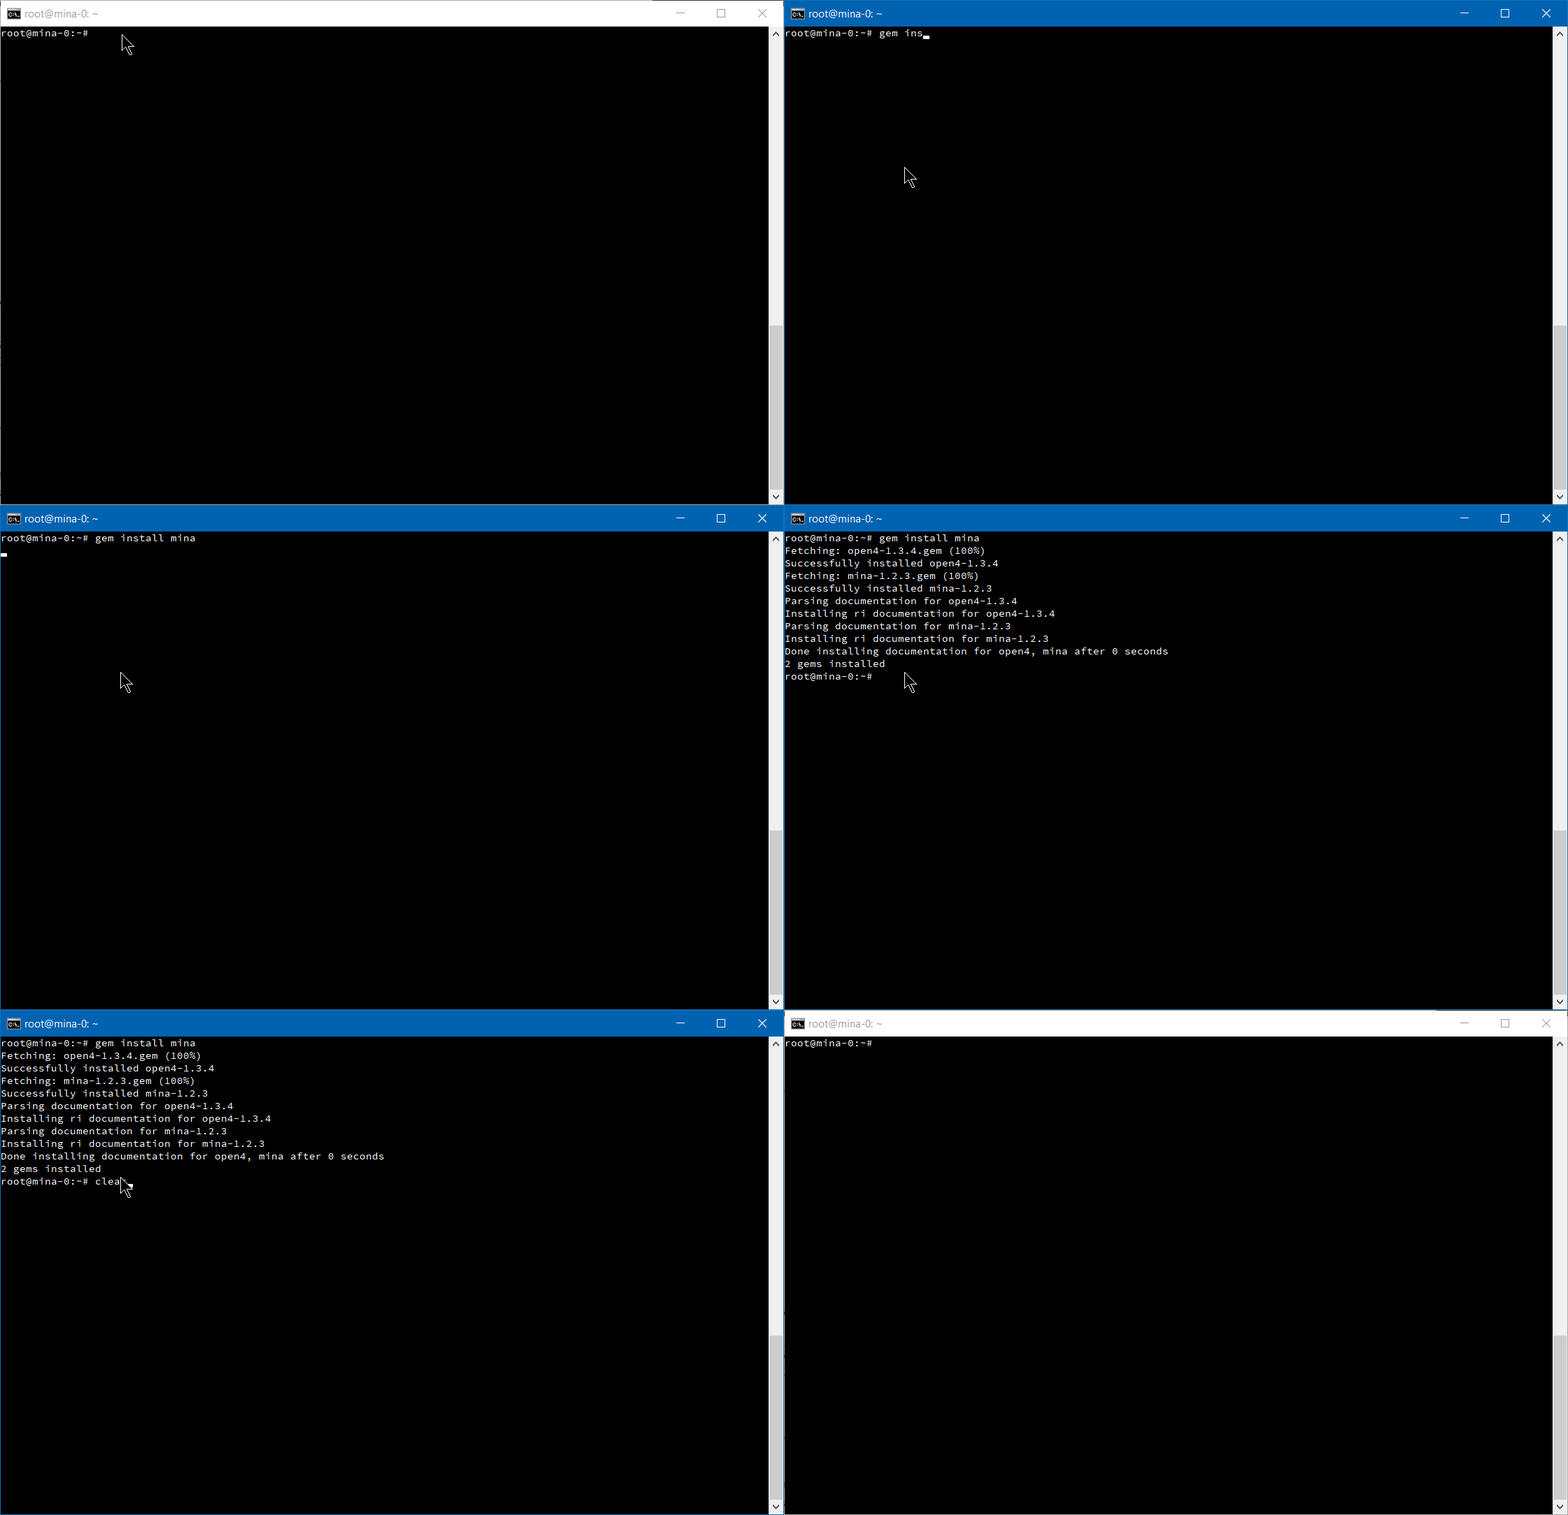
When we have done this, we will have the gem command available, so we will do gem install mina.

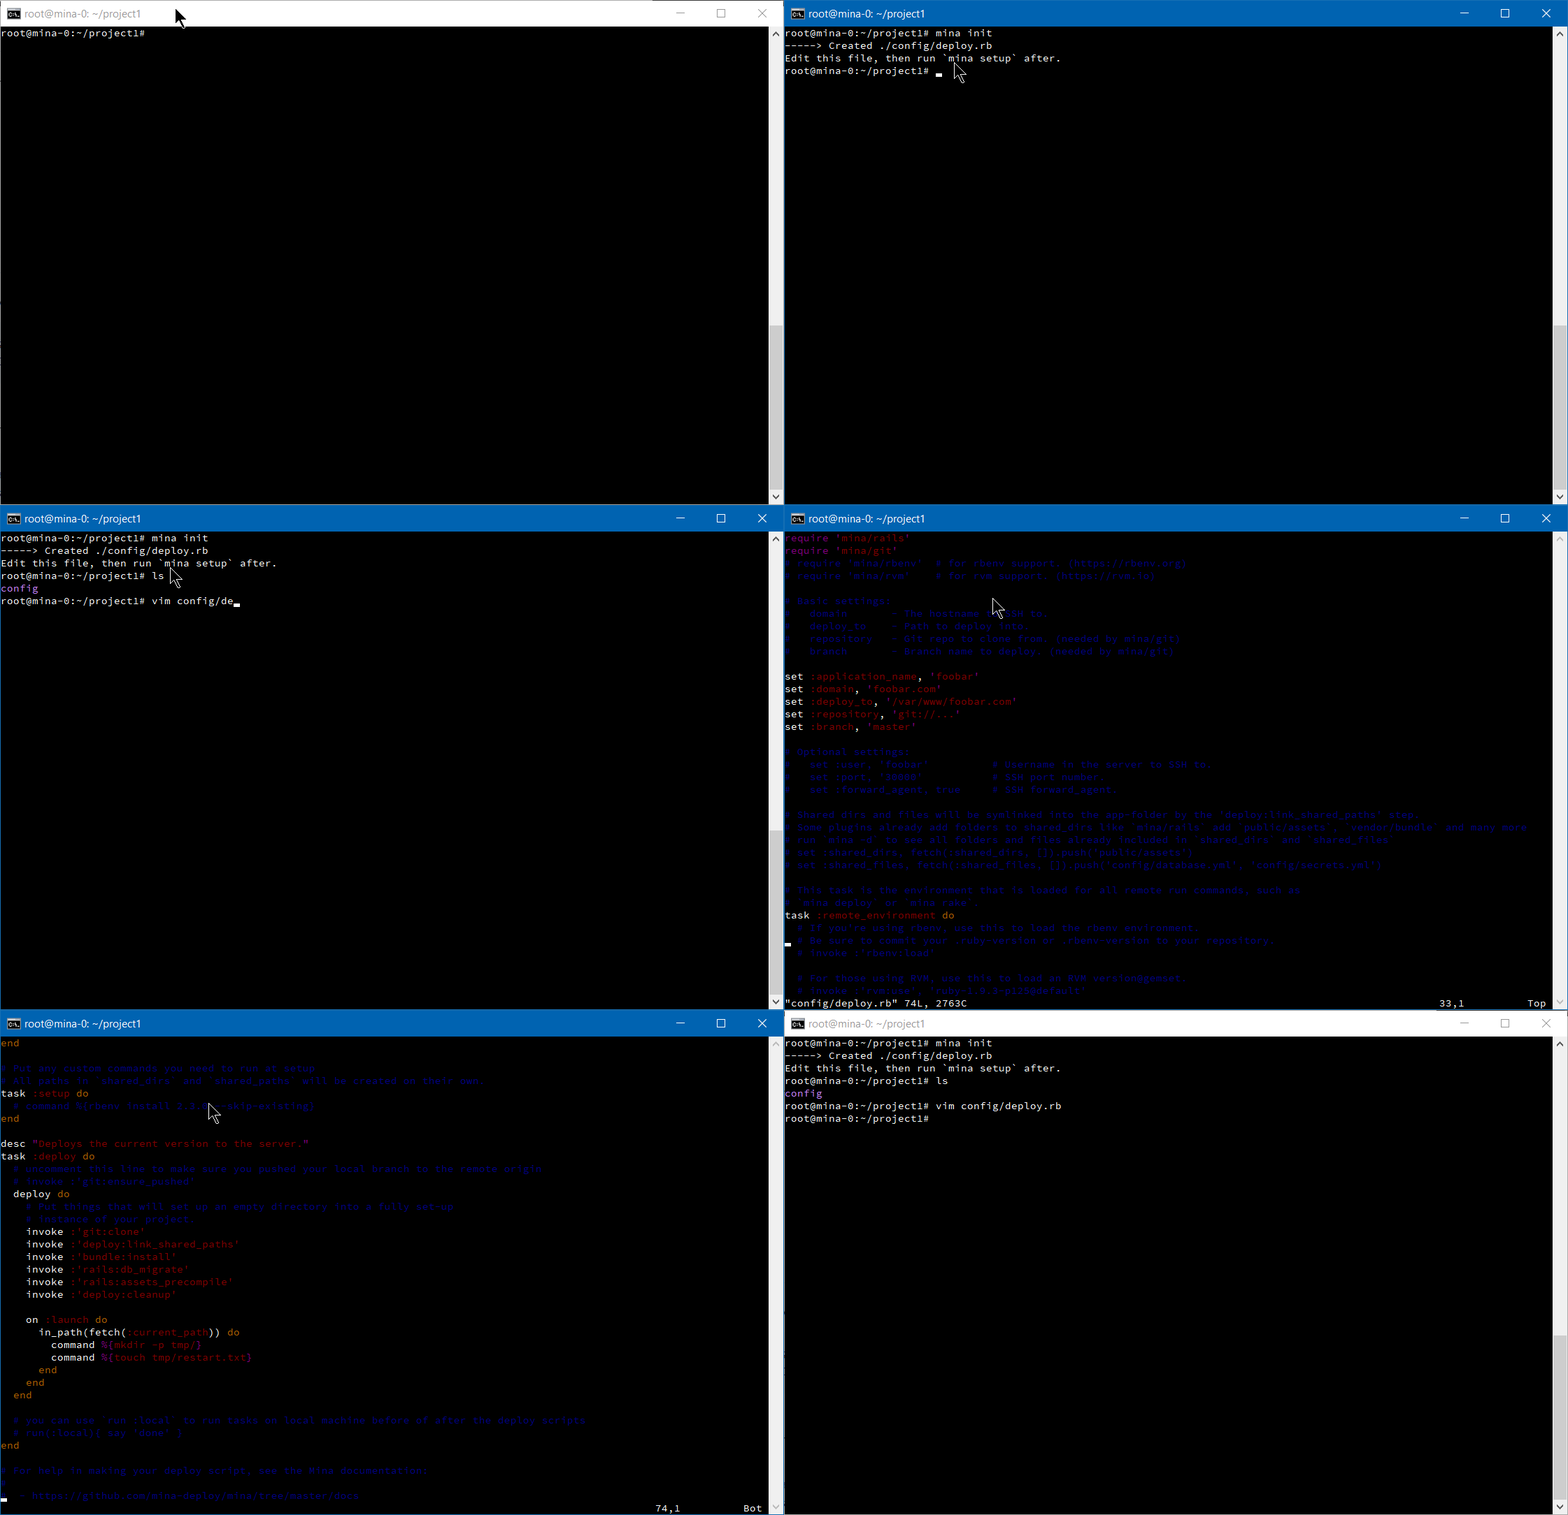
Now - also on our local machine - we will create a directory dedicated to our project, and do mina init there.

This creates a config/deploy.rb file in our project directory, which we will edit to configure Mina:
The post How to Automate App Deployment to Alibaba ECS with Mina appeared first on SitePoint.
by Tonino Jankov via SitePoint
No comments:
Post a Comment