Tuesday, July 24, 2018

Solidity for Beginners: A Guide to Getting Started

Solidity, a smart contracts programming language, has been a buzzword for quite some time now. This tutorial is meant for beginners ready to explore Solidity and code smart contracts. Before we begin, we'll get the basics clear. We will begin by exploring smart contracts and their effectiveness, gradually moving on to Solidity itself. Let's get started!

What You’ll Learn

By the end of this tutorial, you’ll learn;

  • The basics of smart contracts
  • The basics of Solidity
  • Basic coding in Solidity
  • The Applications of Solidity

What Are Smart Contracts?

The term smart contracts has created a lot of hype, and it still remains in the spotlight right next to terms like artificial intelligence, blockchain, Machine Learning, and so on. Smart contracts, or crypto-contracts, are nothing but self-executing computer programs that enable digital transactions, business, currency exchanges, asset transfers, and more according to a predefined set of conditions called a smart contract protocol. Smart contracts not only ensure that both the parties are following the rules and conditions of the contract, but also enforce the contract obligations automatically.

How do smart contracts function?

Smart contracts function over a given blockchain network. A smart contract takes the information as an input, assigns a value to that input according to the coded contract rules and conditions, then executes those actions according to the clauses. For example, during an ICO, a smart contract may decide whether the cryptocoin will go to the buyer or the token generator.

All smart contracts run atop a blockchain layer, where all the data is stored with Proof of Work or Proof of Stake algorithms.

Smart contract applications

Smart contracts are handy tools that allow asset transfer and conditional fulfillment digitally. They solve the issue of mutual trust, transparency, global communication and economics. Here are some revolutionary real-world applications of smart contracts:

  • The execution of transactions including legal processes.
  • The execution of transactions relating to the insurance industry.
  • The execution of crowdfunding agreements and ICO campaigns.
  • The execution of transactions related to trading, financial derivatives, and simple asset exchange and transfers.

Smart contracts hold potential to disrupt industries which call for expertise and repetitive processes — for example, legal procedures. They also possess a potential for real-time auditing operations (which take many working hours if done manually!) and risk assessment, thereby enforcing compliance with the set norms.

Can smart contracts do anything?

The proposition offered by this unique blockchain tool is tempting. Theoretically, smart contracts can be used to solve complex issues of trust, transparency, and execution between the contract parties while ensuring compliance and risk management. However, the majority of smart contract applications are just theoretical. There are projects currently under development that are exploring uses for smart contracts, but the truth is we have found limited current practical applications.

Smart contracts may not be able to do everything they promise theoretically, at least currently. Here are the primary reasons;

Smart contracts are not actually ‘smart’. Smart coded contracts are not inherently smart or intelligent. They are called ‘smart’ because of the automation and condition enforcement that is coded into them, and because there is no need for a third-party intervention. But in reality, they cannot judge circumstances and play by the ‘code is law’ principle. While this can be useful, it can be harmful as well. For example, conditions cannot be changed or tampered with in the contract, even if both the parties mutually agree to a condition outside the agreement. Smart contracts just execute mutually agreed-upon conditions and follow the code in any state.

Creating smart contracts is highly complicated and tedious. Another reason why practical applications for smart contracts are scarce is the sophisticated engineering involved in coding them. Smart contracts are supposed to be Turing complete, i.e. the smart contract can simulate any Turing machine. For that, it has to be highly complicated, which in turns makes them difficult to analyze. The catch is security. If a smart contract has bugs, it can be breached and there is no point in using it. Analyzing a Turing-complete smart contract becomes a herculean task. Even ordinary contracts take years of expertise and consistent builds and fixes to meet user requirements.

What is Solidity?

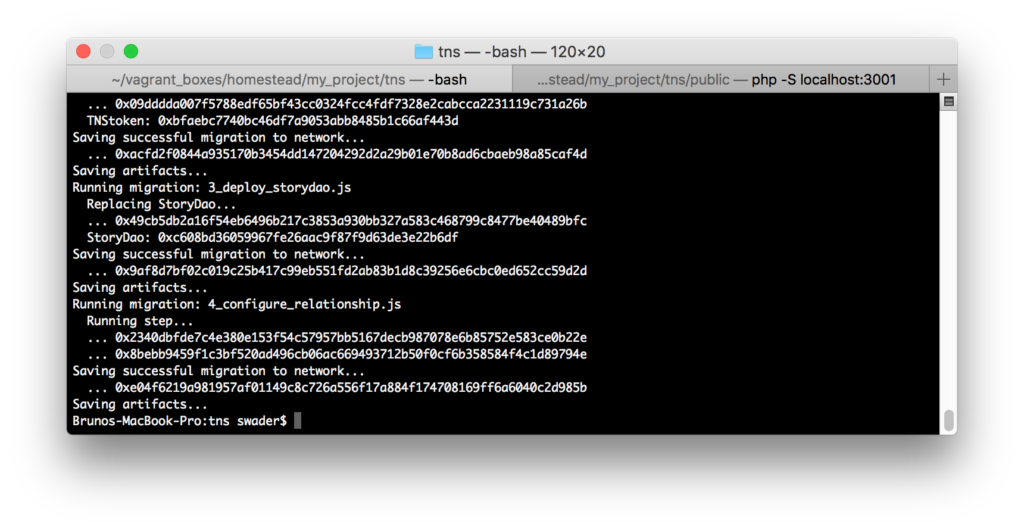
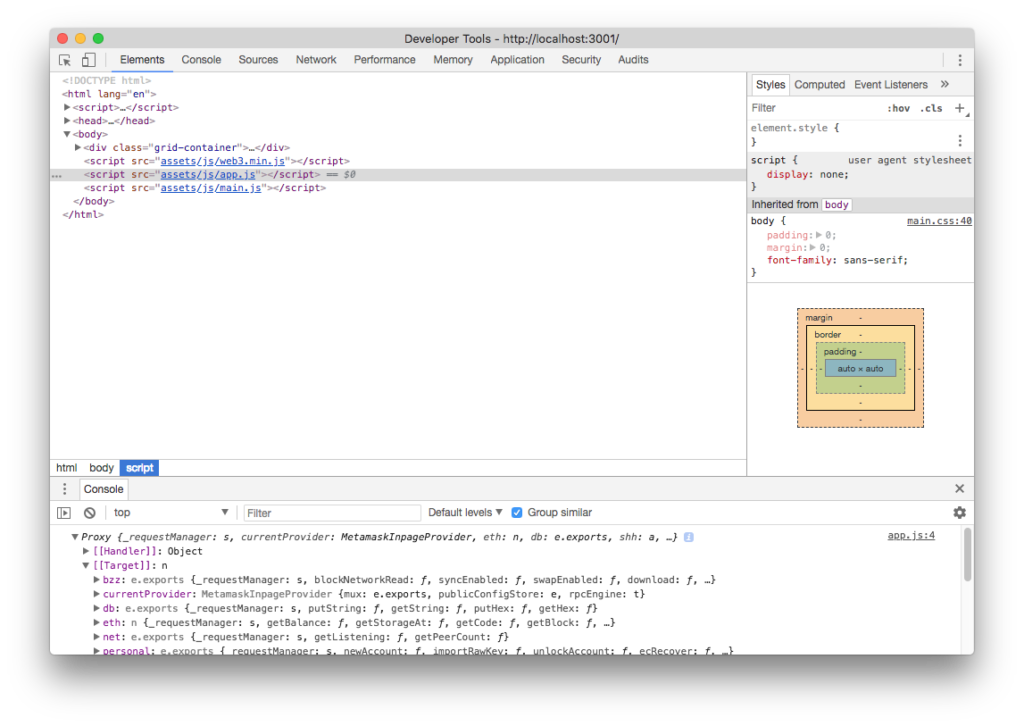
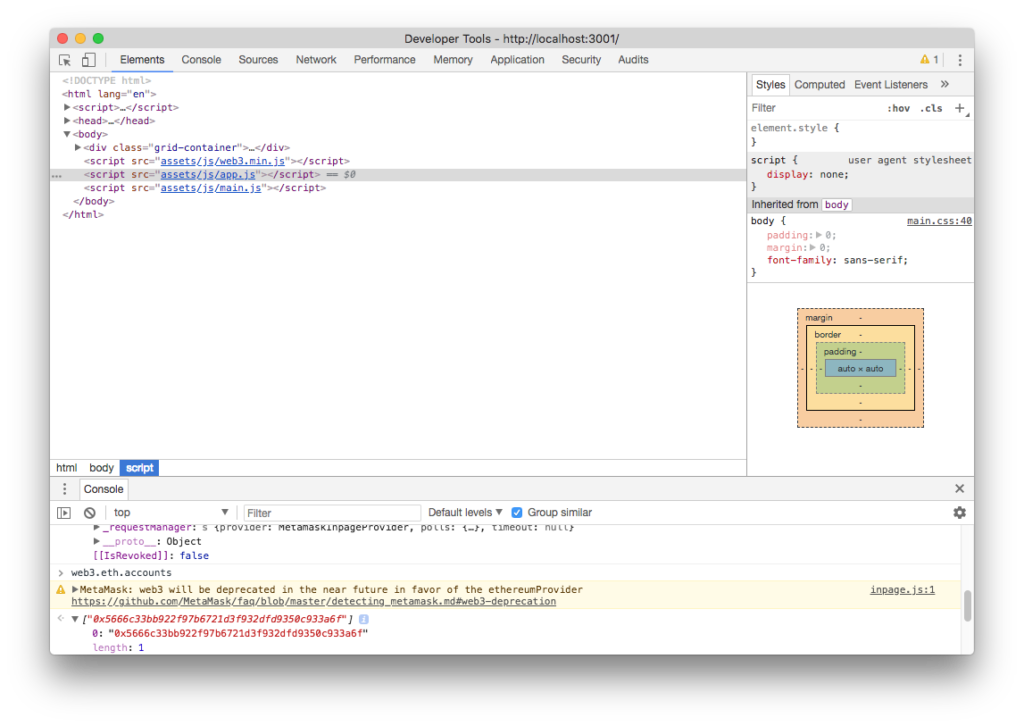
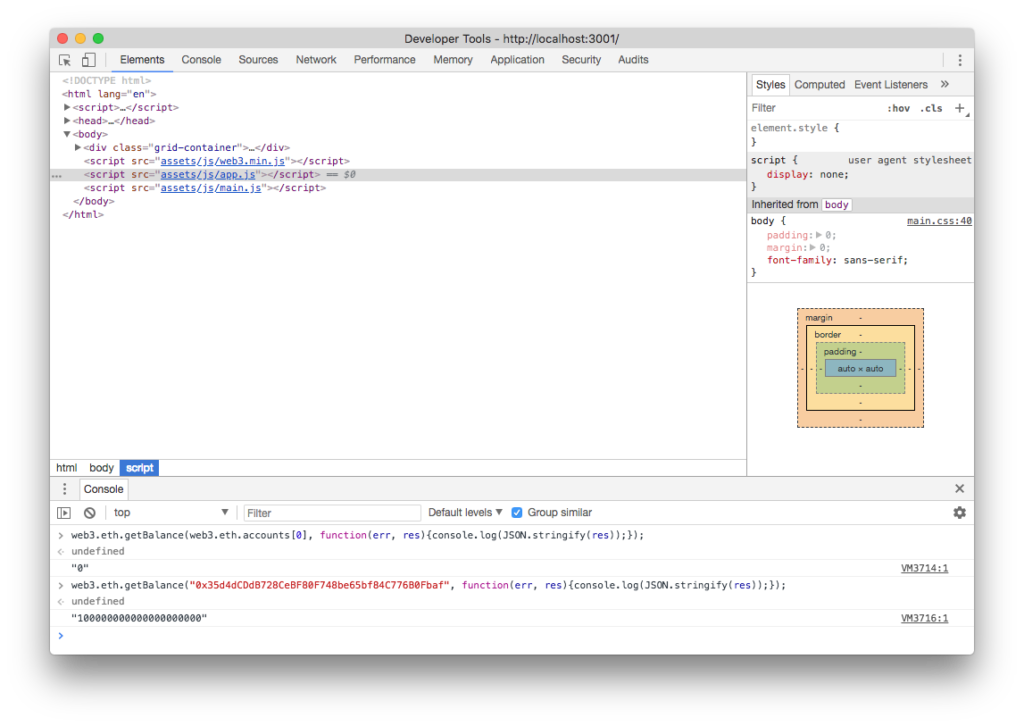
Solidity is a rather simple language deliberately created for a simplistic approach to tackle real world solutions. Gavin Wood initially proposed it in the August of 2014. Several developers of the Ethereum chain such as Christian Reitwiessner, Alex Beregszaszi, Liana Husikyan, Yoichi Hirai and many more contributed to creating the language. The Solidity language can be executed on the Ethereum platform, that is a primary Virtual Machine implementing the blockchain network to develop decentralized public ledgers to create smart contract systems.

The language has the same functionalities as C and JavaScript. Additionally, the language supports state variables (similar to objects in Object Oriented Programming), data types, and programming functions. However, the language faces consistent upgrades and rapid changes throughout the platform. Hence as a programmer, you need to pay attention to the updates through Ethereum platform forums, blogs, and chat rooms.

Both Solidity and Ethereum are under proactive development.

How do I learn Solidity?

The syntactical symmetry of Solidity with ECMAScript (JavaScript) has considerably enhanced the usability of the system. The Ethereum design documentation brings out the stack and memory model with a 32-byte instruction word size. This Ethereum Virtual Machine creates the program stack that keeps track of program counter and data storage registers. The program counter loops or jumps to maintain a sequential flow to control the program.

The post Solidity for Beginners: A Guide to Getting Started appeared first on SitePoint.


by Anthony Bergs via SitePoint

Radiation From Smartphones Can Damage A Teenage Brain

Remember how your parents always blame any and every health issues on your extensive usage of the smartphones? By a new research, you might have difficulty doing so since it suggests that a prolonged use of this device for a year may cause some memory loss. Maybe not all the headaches, fever or...

[ This is a content summary only. Visit our website https://ift.tt/1b4YgHQ for full links, other content, and more! ]

by Mehwish Mehmood via Digital Information World

From The Highest To the Lowest Paying Jobs In The Tech Industry

Like all the other industrial forms of businesses, the tech industry is also made up of a number of designated positions that require different amount of labor and thus the pay is different as well. The misconception that buds from the word Tech that the workers have lavish offices with comfy...

[ This is a content summary only. Visit our website https://ift.tt/1b4YgHQ for full links, other content, and more! ]

by Mehwish Mehmood via Digital Information World

YouTube And Its Incredible Advertising Achievements: 1.9 Billion Monthly Active Users, 60% Year-Over-Year Interactions Growth

YouTube has become a household name when it comes to online video streaming sites. Only 12 years old, this site is a leading forum with over 1.9 billion monthly users. This update was revealed by the CEO of YouTube Susan Wojcicki in a blog post which said that a huge number of consumers get...

[ This is a content summary only. Visit our website https://ift.tt/1b4YgHQ for full links, other content, and more! ]

by Mehwish Mehmood via Digital Information World

How to Use a Pre-built Website to Refresh a Website’s Look

This article was created in partnership with BAWMedia. Thank you for supporting the partners who make SitePoint possible.

There are a host of websites out there sorely in need of an update. Designers can do so by incorporating one or more of the current web design trends. Current trends involve everything from upgrading color schemes to reorganizing design content.

It can be a long and laborious task, something most web designers would prefer to avoid. The same designers are also leery of quick fixes, out of fear they will compromise the quality of their work.

BeTheme provides a fast and easy way to redesign a website. It offers a selection of more than 350 pre-built website designs. These templates can be customized to satisfy a business's need for a website. The finished site will have an up-to-date look and feel, having many of the necessary changes already built in.

Express Redesign

There's more than one way to quickly redesign an outdated website. It is possible to transform it into an up-to-date award winner. You can do so by using a pre-built website as a starting point. Here are 7 approaches to pick and choose from. They are accompanied by pre-built website examples to illustrate the possibilities.

Express Redesign #1: Make a run-of-the-mill website more dynamic

A dynamic homepage makes it much easier to capture a visitor's attention. It helps to convince them to stay around awhile. Most visitors decide whether to stay or leave within about 3 seconds. If you can keep a visitor engaged for longer than that, you have a potential customer. A dynamic homepage stokes a visitor's curiosity and a desire to see what surprises lie ahead. This can be achieved with a striking image, a video, or an animation.

Hint: If you use a video make sure the Play button is front and center.

BeSportsman

BeSportsman

BeBarman


BeBarman

BeGame

BeGame

Express Redesign #2: Refresh the color scheme & bring it up to date

This is usually an easy fix and it can carry with it a big impact by dramatically changing a website's look and feel. A new color scheme can play a big role in helping a business meet the goals.

A pre-built website makes refreshing the color scheme easy. Its colors will be in line with existing industry or business trends.

Hint: While you're at it, use plenty of white space. It makes a website look up to date and allows the colors to stand out.

BeApp3

BeApp3

BeTea2

BeTea2

BeGsmService

BeGsmService

Express Redesign #3: Reorganize the website's content architecture

Many older websites are in need of a total architectural overhaul. Finding the right balance when attempting to combine text with images is never easy. This is unless you're working with a pre-built website. Such a website can take into account much of what needs to be done. As you can see from the following examples they do a great job of attracting and engaging visitors.

BeDecor2


BeDecor2

BeDietitian2

BeDietitian2

BeJournalist

BeJournalist

Express Redesign #4: Incorporate large, eye-catching visuals

A good first step toward giving a website a new, refreshing look is to start with the homepage. Adding a large, stunning visual is often all it takes to entice a visitor to stick around and explore the site. Adding the needed imagery can be done in seconds. These three pre-built websites demonstrate that the results can be outstanding.

BeDigital is an example of using a fascinating 3D still that's impossible to ignore.

BeDigital

The post How to Use a Pre-built Website to Refresh a Website’s Look appeared first on SitePoint.


by SitePoint Team via SitePoint

Ethereum DApps: Building a Web3 UI for a DAO Contract

In part 6 of this tutorial series on building DApps with Ethereum, we took the DAO towards completion by adding voting, blacklisting/unblacklisting, and dividend distribution and withdrawal, while throwing in some additional helper functions for good measure. In this tutorial, we’ll build a web interface for interacting with our story, as we otherwise can’t count on any user engagement. So this is the final part of our story before we launch it into the wild.

Since this isn’t a web application tutorial, we’ll keep things extremely simple. The code below is not production-ready, and is meant to serve only as a proof of concept on how to connect JavaScript to the blockchain. But first, let’s add a new migration.

Automating Transfers

Right now as we deploy our token and DAO, they sit on the blockchain but don’t interact. To test what we’ve built, we need to manually transfer token ownership and balance to the DAO, which can be tedious during testing.

Let’s write a new migration which does this for us. Create the file 4_configure_relationship.js and put the following content in there:

var Migrations = artifacts.require("./Migrations.sol");
var StoryDao = artifacts.require("./StoryDao.sol");
var TNSToken = artifacts.require("./TNSToken.sol");

var storyInstance, tokenInstance;

module.exports = function (deployer, network, accounts) {

    deployer.then(function () {
            return TNSToken.deployed();
        }).then(function (tIns) {
            tokenInstance = tIns;
            return StoryDao.deployed();
        }).then(function (sIns) {
            storyInstance = sIns;
            return balance = tokenInstance.totalSupply();
        }).then(function (bal) {
            return tokenInstance.transfer(storyInstance.address, bal);
        })
        .then(function (something) {
            return tokenInstance.transferOwnership(storyInstance.address);
        });
}

Here’s what this code does. First, you’ll notice it’s promise-based. It’s full of then calls. This is because we depend on a function returning some data before we call the next one. All contract calls are promise-based, meaning they don’t return data immediately because Truffle needs to ask the node for information, so a promise to return data at a future time is made. We force the code to wait for this data by using then and providing all then calls with callback functions which get called with this result when it’s finally given.

So, in order:

  • first, ask the node for the address of the deployed token and return it
  • then, accepting this data, save it into a global variable and ask for the address of the deployed DAO and return it
  • then, accepting this data, save it into a global variable and ask for the balance the owner of the token contract will have in their account, which is technically the total supply, and return this data
  • then, once you get this balance, use it to call the transfer function of this token and send tokens to the DAO’s address and return the result
  • then, ignore the returned result — we just wanted to know when it’s done — and finally transfer ownership of the token to the DAO’s address, returning the data but not discarding it.

Running truffle migrate --reset should now produce an output like this:

Truffle migrate

The Front End

The front end is a regular, static HTML page with some JavaScript thrown in for communicating with the blockchain and some CSS to make things less ugly.

Let’s create a file index.html in the subfolder public and give it the following content:

<!DOCTYPE HTML>

<html lang="en">
<head>
    <title>The Neverending Story</title>
    <meta charset="utf-8"/>
    <meta name="viewport" content="width=device-width, initial-scale=1"/>
    <meta name="description" content="The Neverending Story is an community curated and moderated Ethereum dapp-story">
    <link rel="stylesheet" href="assets/css/main.css"/>
</head>
<body>

    <div class="grid-container">
        <div class="header container">
            <h1>The Neverending Story</h1>
            <p>A story on the Ethereum blockchain, community curated and moderated through a Decentralized Autonomous Organization (DAO)</p>
        </div>
        <div class="content container">
            <div class="intro">
                <h3>Chapter 0</h3>
                <p class="intro">It's a rainy night in central London.</p>
            </div>
            <hr>
            <div class="content-submissions">
                <div class="submission">
                    <div class="submission-body">This is an example submission. A proposal for its deletion has been submitted.</div>
                    <div class="submission-submitter">0xbE2B28F870336B4eAA0aCc73cE02757fcC428dC9</div>
                    <div class="submission-actions">
                        <div class="deletionproposed" data-votes="3024" data-deadline="1531607200"></div>
                    </div>
                </div>
                <div class="submission">
                        <div class="submission-body">This is a long submission. It has over 244 characters, just we can see what it looks like when rendered in the UI. We need to make sure it doesn't break anything and the layout also needs to be maintained, not clashing with actions/buttons etc.</div>
                        <div class="submission-submitter">0xbE2B28F870336B4eAA0aCc73cE02757fcC428dC9</div>
                        <div class="submission-actions">
                            <div class="delete"></div>
                        </div>
                </div>
                <div class="submission">
                        <div class="submission-body">This is an example submission. A proposal for its deletion has been submitted but is looking like it'll be rejected.</div>
                        <div class="submission-submitter">0xbE2B28F870336B4eAA0aCc73cE02757fcC428dC9</div>
                        <div class="submission-actions">
                            <div class="deletionproposed" data-votes="-790024" data-deadline="1531607200"></div>
                        </div>
                </div>
            </div>    
        </div>
        <div class="events container">
            <h3>Latest Events</h3>
            <ul class="eventlist">

            </ul>
        </div>
        <div class="information container">
            <p>Logged in / out</p>
            <div class="avatar">
                <img src="http://placeholder.pics/svg/200/DEDEDE/555555/avatar" alt="avatar">
            </div>
            <dl>
                <dt>Contributions</dt>
                <dd>0</dd>
                <dt>Deletions</dt>
                <dd>0</dd>
                <dt>Tokens</dt>
                <dd>0</dd>
                <dt>Proposals submitted</dt>
                <dd>0</dd>
                <dt>Proposals voted on</dt>
                <dd>0</dd>
            </dl>
        </div>
    </div>

<script src="assets/js/web3.min.js"></script>
<script src="assets/js/app.js"></script>
<script src="assets/js/main.js"></script>

</body>
</html>

Note: this is a really really basic skeleton, just to demo integration. Please don’t rely on this being the final product!

It’s possible that you’re missing the dist folder in the web3 folder. The software is still beta, so minor slip-ups are still possible there. To get around this and install web3 with the dist folder, run npm install ethereum/web3.js --save.

For CSS, let’s put something rudimentary into public/assets/css/main.css:

@supports (grid-area: auto) {
    .grid-container{
      display: grid;
      grid-template-columns: 6fr 5fr 4fr;
      grid-template-rows: 10rem ;
      grid-column-gap: 0.5rem;
      grid-row-gap: 0.5rem;
      justify-items: stretch;
      align-items: stretch;
      grid-template-areas:
      "header header information"
      "content events information";
      height: 100vh;
    }
    .events {
      grid-area: events;
    }
    .content {
      grid-area: content;
    }
    .information {
      grid-area: information;
    }
    .header {
      grid-area: header;
      text-align: center;
    }

    .container {
        border: 1px solid black;
        padding: 15px;
        overflow-y: scroll;
    }

    p {
        margin: 0;
    }
  }

body {
    padding: 0;
    margin: 0;
    font-family: sans-serif;
}

Then as JS we’ll start with this in public/assets/js/app.js:

var Web3 = require('web3');

var web3 = new Web3(web3.currentProvider);
console.log(web3);

What’s going on here?

Since we agreed that we’ll assume all our users will have MetaMask installed, and MetaMask injects its own instance of Web3 into the DOM of any visited web page, we basically have access to the “wallet provider” from MetaMask right in our website. Indeed, if we log in to MetaMask while the page is open, we’ll see this in the console:

MetaMask provider is active

Notice how the MetamaskInpageProvider is active. In fact, if we type web3.eth.accounts into the console, all the accounts we have access to through MetaMask will be printed out:

Account is printed into the console

This particular account is, however, one that’s added to my own personal Metamask by default and as such will have a balance of 0 eth. It’s not part of our running Ganache or PoA chain:

An empty account

Notice how asking for the balance of our active (MetaMasked) account yields 0, while asking for balance of one of our private blockchain accounts yields 100 ether (in my case it’s Ganache, so all accounts are initialized with 100 ether).

The post Ethereum DApps: Building a Web3 UI for a DAO Contract appeared first on SitePoint.


by Bruno Skvorc via SitePoint

IOST Community Hub launched!

The successful launch of IOST testnet — Everest v0.5 triggered a huge response across our community. We were amazed at the reaction and became even more determined to grow awareness of IOST far and wide. We are excited to announce the official launch of the IOST Community Hub to keep you informed about our project progress and to create a hub […]

The post IOST Community Hub launched! appeared first on SitePoint.


by Simon Julian via SitePoint