[ This is a content summary only. Visit our website https://ift.tt/1b4YgHQ for full links, other content, and more! ]


by Zia Zaidi via Digital Information World

Long-scrolling Landing Page for Shinbyeong – an upcoming novel by Rou Hun. Neat touch with the neon glow effects, the unscrambling text as you scroll and the neat off-canvas pre-order area where you can add reward tiers upon checkout.
In this guide, we’ll introduce the WordPress Settings API, and create a WordPress administration page where we demonstrate the use of this API.
For the purposes of this tutorial, we’ll wrap this functionality into a plugin, but this can also be a part of a WordPress theme.
As the WordPress Codex says, the Settings API was added in WordPress 2.7 to streamline adding different settings fields and sections in administration pages.
To start, we’ll create and activate a plugin to encapsulate our options page. We’ll use WP CLI to simplify the creation, although this leaves us with way more files than this guide needs.
[video width="822" height="352" mp4="https://dab1nmslvvntp.cloudfront.net/wp-content/uploads/2018/11/1541423763plug.mp4"][/video]
As we can see, we use wp scaffold plugin pluginname to create the plugin. Once it’s created, we activate it — optionally also using WP CLI, with wp plugin activate pluginname.
Once it’s activated, we open the main plugin file — in this case sitepoint-settings-api.php.
It isn't necessary to use WP CLI for this plugin. We could have simply created a directory with the name of the plugin, and the PHP file inside it with the same name. Anyhow, the creation of the plugin has left us with a sitepoint-settings-api.php which looks like this:
<?php
/**
 * Plugin Name:     Sitepoint Settings Api
 * Plugin URI:      PLUGIN SITE HERE
 * Description:     PLUGIN DESCRIPTION HERE
 * Author:          YOUR NAME HERE
 * Author URI:      YOUR SITE HERE
 * Text Domain:     sitepoint-settings-api
 * Domain Path:     /languages
 * Version:         0.1.0
 *
 * @package         Sitepoint_Settings_Api
 */
~
Now we can simply add code after the comment end.
To add our options page, we’ll use add_options_page() (more details about it here). This function takes arguments as follows:
add_options_page( $page_title, $menu_title, $capability,
    $menu_slug, $function );
All the arguments are self-explanatory. $menu_slug must be a unique string that WordPress will use internally, but will also be reflected in the URL. $function is a string with a name of the function that will provide HTML output for our admin page.
We will, therefore, add the following code to our plugin file:
add_action( 'admin_menu', 'sitepoint_settings_page' );

function sitepoint_settings_page() {
    add_options_page( 'Settings API Page', 'Settings API Page', 'manage_options', 'settings-api-page', 'settings_api_page' );
}
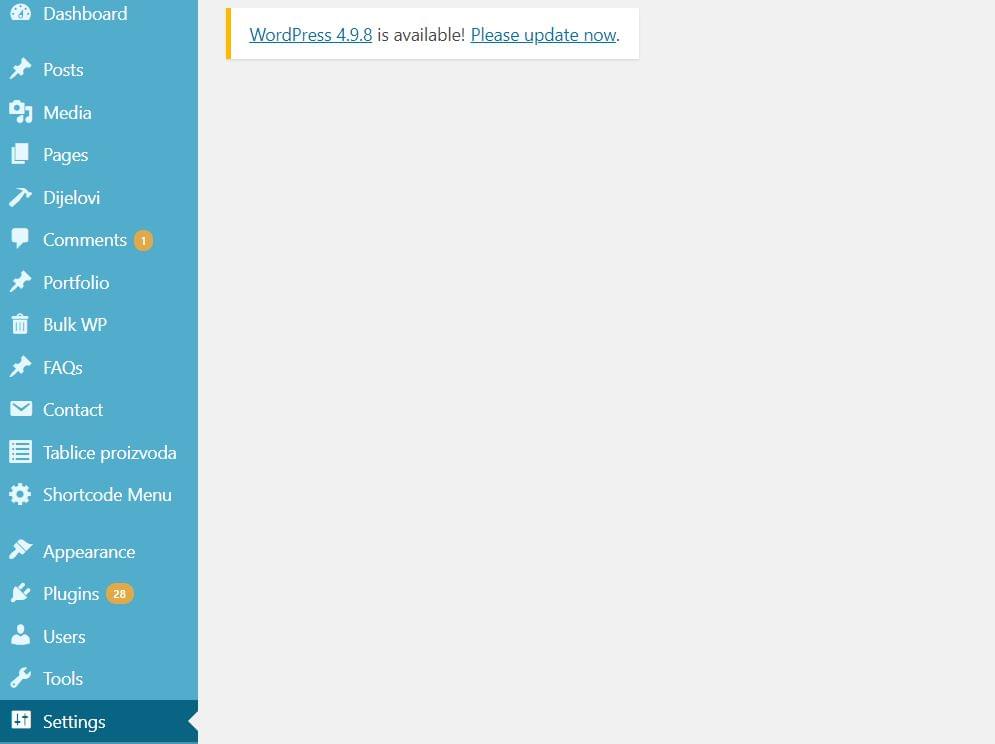
After we’ve saved the file (presuming we activated our plugin), we’ll open our administration dashboard, and we’ll find our Settings API Page under Settings in the left side menu.
We can control, to a degree, the order or position of the submenu item by adding a priority argument to our add_action() function:
add_action( 'admin_menu', 'sitepoint_settings_page', 1 );
If we want to have our menu item to be in the root menu — rather than the Settings submenu — we’ll use add_menu_page(), which takes similar arguments.
Now, if we open the page in our browser, all we’ll see is an empty page, because we still haven't created the settings_api_page() function that we specified:
The WordPress Settings API is an intricate mechanism that attempts to provide an easy way for developers to create settings pages.
Before we go into a full-fledged example of the settings page displaying and saving a setting to the WordPress database, we’ll explain couple of crucial functions that WordPress provides as part of its Settings API.
register_setting() is a function we use to register a setting, which equals a row in wp_options table. Before we can create actual field (or fields, as setting can be an array of values), we need to register it. This way we’ll leverage the WordPress CRUD mechanism for settings. Function arguments are as follows:
register_setting( string $option_group, string $option_name, array $args = array() )
The first two arguments are mandatory, the first one allowing us to assign fields to it, and $option_name, as we’ll see, is the actual option name in the WordPress database.
add_settings_section() defines/adds a section to an admin page. Its arguments are as follows:
add_settings_section( string $id, string $title, callable $callback, string $page )
$callback is a function that outputs an HTL header of the section (it can be empty), and $page is the slug of the admin page we’ll display it on.
add_settings_field() defines a settings field within a settings section in an admin options page. Arguments for it are:
add_settings_field( string $id, string $title, callable $callback, string $page, string $section = 'default', array $args = array()
Of these, $id, $title, $callback and $page are required. The $callback function should output the HTML of the input field.
The Settings API provides $page argument for add_settings_section and add_settings_field as a means to add sections and fields to existing settings pages. We’ll use stpPlugin for both our option group — in register_setting() — and for attaching the settings section and settings fields to a ‘stpPlugin’ page in the add_settings_section() and add_settings_field() functions. We’ll then “quote it” in the next two functions in our example, to output relevant HTML.
settings_fields() outputs “nonce, action, and option_page fields for a settings page”. It takes the $option_group argument, used in register_setting().
do_settings_sections() outputs all the sections, with their respective fields, registered for a specific $page.
$page is the only argument here.
The post Using the WordPress Settings API to Build a Custom Admin Page appeared first on SitePoint.

Real unique One Pager allowing your to create your own Bitmap Typeface. You start by opening up a letter canvas and drawing your version of it with pixels. Once you’re done, you open up the text area, type your word or phrase (using your characters), then simply export.

Long scrolling Landing Page with neat interactive hotspots and diagrams for Flowkit 2.0 for Sketch & Figma by Matt D. Smith. Also a good reference to an explainer video that identifies with a user problem within the first few seconds.
(I’ve cropped out a bunch of the Twitter Testimonials for load time purposes and also treating the Usage page as a Documentation/Support section, so allowed within Submission Rules)


Want to better understand your customer’s journey across devices and channels? Have you heard of the Facebook Attribution tool? In this article, you’ll learn how to use Facebook’s new Attribution tool to measure the effectiveness of your ads. What Is the Facebook Attribution Tool? Before we dive into the Facebook Attribution tool, it’s worth looking [...]
The post How to Use the Facebook Attribution Tool to Measure Your Marketing Impact appeared first on Social Media Examiner.