[ This is a content summary only. Visit our website https://ift.tt/1b4YgHQ for full links, other content, and more! ]


by Zia Zaidi via Digital Information World


This article was originally published on Alibaba Cloud. Thank you for supporting the partners who make SitePoint possible.
Cockpit is a server manager that makes it easy to administer your GNU/Linux servers via a web browser. It makes Linux discoverable, allowing sysadmins to easily perform tasks such as starting containers, storage administration, network configuration, inspecting logs and so on.
Cockpit provides convenient switching between the terminal and the web tool. A service started via Cockpit can be stopped via the terminal. Likewise, if an error occurs in the terminal, it can be seen in the Cockpit journal interface. Using Cockpit you can monitor and administer several servers at the same time. Just add it easily and your server will look after its buddies.
Cockpit is released under the LGPL v2.1+, and it is available for Redhat, CentOS, Debian, Ubuntu, Atomic, and Arch Linux. Cockpit is compatible and works well with Alibaba Cloud Elastic Compute Service (ECS) servers. In this tutorial, I will be installing Cockpit on an ECS with Ubuntu 18.04 LTS installed on it. Until Ubuntu 18.04 matures and is included in Alibaba Cloud's library of operating system images, we can upgrade Ubuntu 16.04 to Ubuntu 18.04 by using the do-release-upgrade utility.
After completing the prerequisites, log in as root user with your root username & password via SSH client (e.g. Putty) or VNC console available in your Alibaba Cloud account dashboard.
Cockpit is included in Ubuntu 18.04, so you can just use apt command to install it.
sudo apt update
Install the Cockpit package.
sudo apt -y install cockpit
Start and enable the Cockpit.
sudo systemctl start cockpit.socket
sudo systemctl enable cockpit.socket
Once you start the Cockpit service, it will start listening on port 9090. Now, open up your browser and navigate it to below URL.
https://ip-address:9090
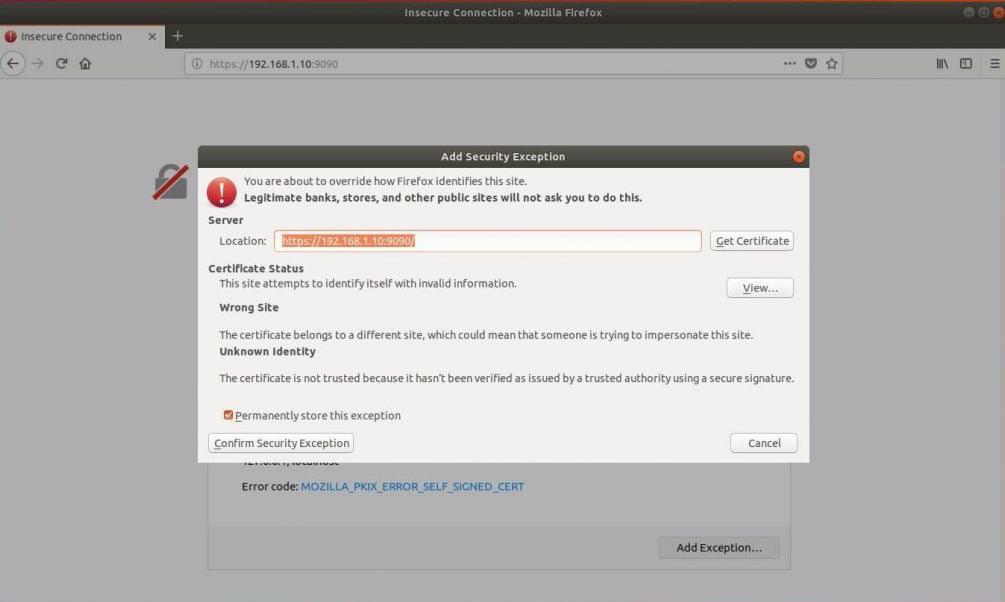
Cockpit uses a self-signed SSL certificate for secure communication. So, you need to add an exception in your browser to access the Cockpit.
Log in with your local user account. In my case it is gqadir.
If the user is a non-privileged user and has sudo access, then tick mark Reuse my password for privileged tasks.
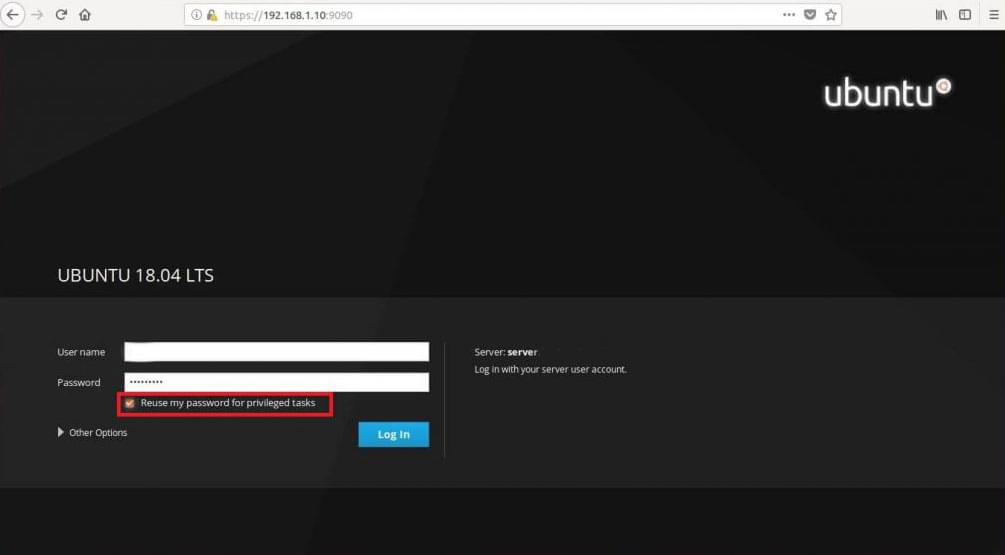
We must now insert our credentials in the related input fields and click on the Log In button. Once logged in we will be redirected to the main cockpit page:
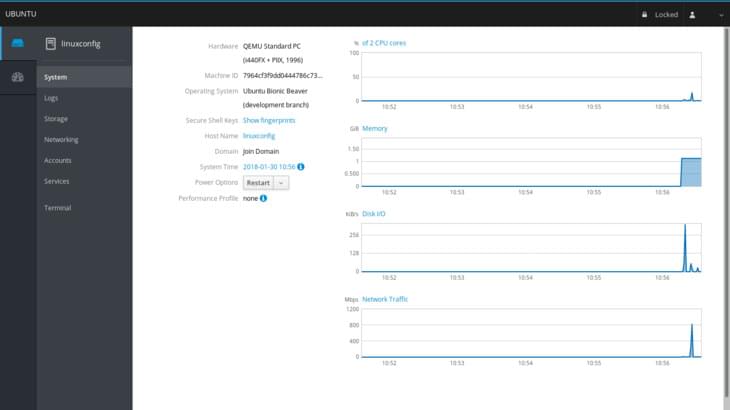
Let's take a look at it. The main page section shows us some information about the machine we are running on, as the hardware, hostname, operating system and system time. In this case I am running Ubuntu on a virtual machine, therefore the value of the hardware section is QEMU Standard Pc.
We also have a dropdown menu which let us perform a power option on the system as restart or shutdown. On the right we can see some graphs which let us monitoring crucial system activities, in order: CPU and memory usage, disk activity and network traffic.
In the left column menu, just below the system section, we can click on logs to access to the page dedicated to system logs. Here, at the top of the page, we have two nice menus which let us filter the logs by period of time and severity, choosing between problems, notices, warnings and errors.
The post How to Install Cockpit on Ubuntu 18.04 appeared first on SitePoint.