[ This is a content summary only. Visit our website https://ift.tt/1b4YgHQ for full links, other content, and more! ]


by Saima Salim via Digital Information World
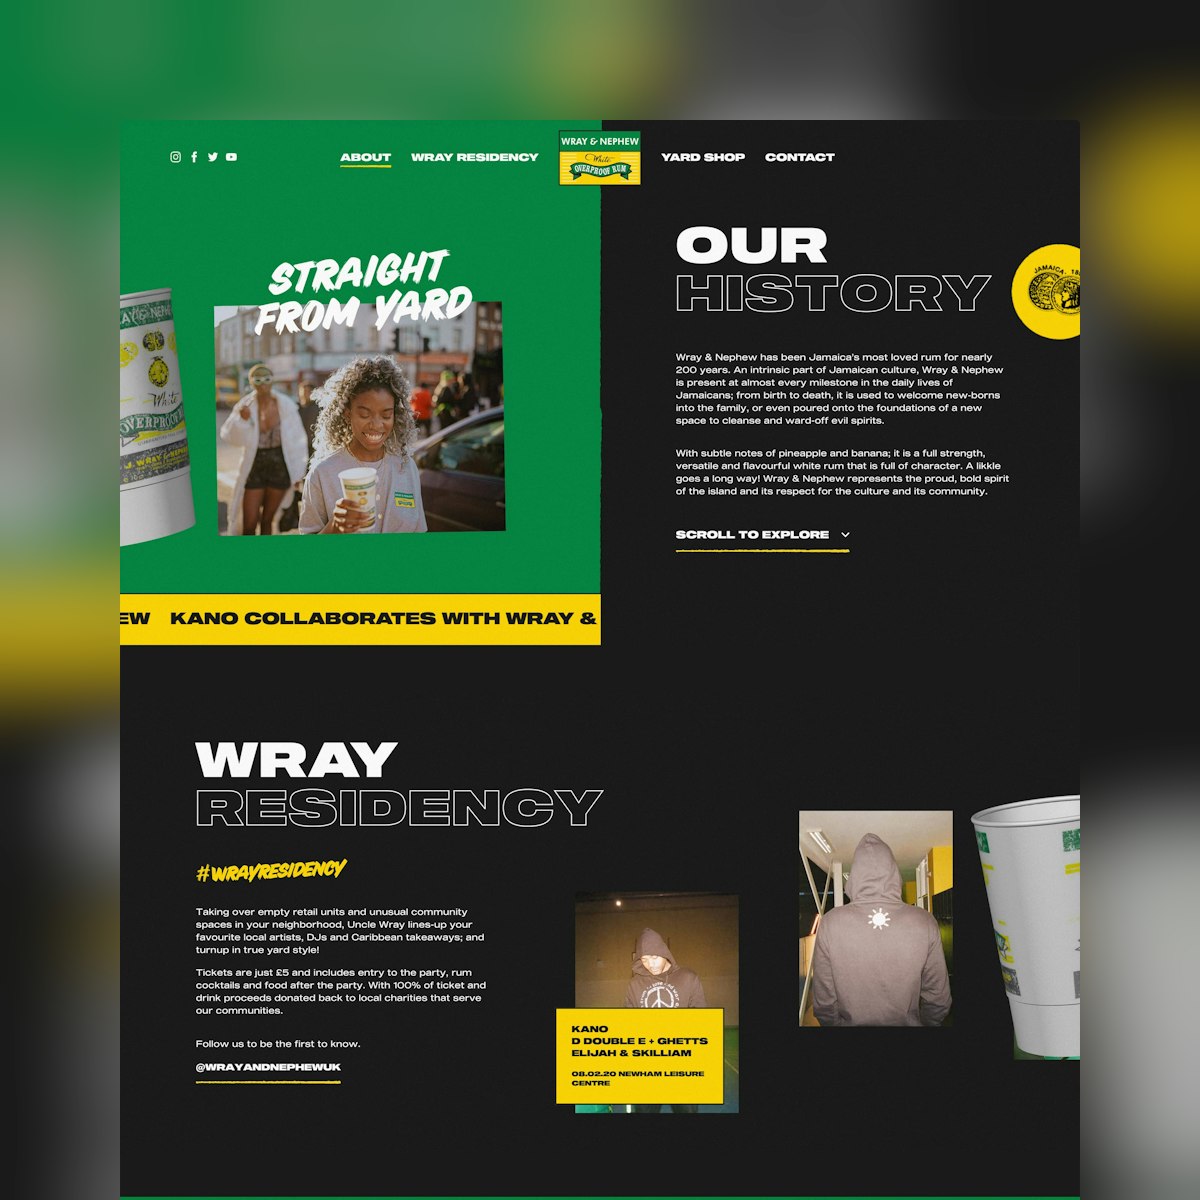
Impressive One Pager by Green Chameleon for Jamaican Rum originals Wray and Nephew. The Jamaican color scheme is on point and what a cool feature rolling the cup across your screen as you scroll up and down.


Your homepage is the first thing people see when they visit your website, so you’ll want to ensure you make a good first impression!
By default, WordPress uses your most recent blogs as your homepage. However, even if blogging is a big part of your website, there are many scenarios where a blog isn’t the best possible introduction to your site.
Imagine you’re building a website to promote your business—would you prefer potential customers to see a homepage packed with customer testimonials, a slideshow of your products and services, and all the awards you’ve won, or a list of your most recent blog posts?
In this quick tip, I’ll show you how to make the best possible first impression, by replacing WordPress’ default blog with a specially-designed homepage.
If you're new to WordPress, check out our complete guide to creating your first WordPress site.
While blogs display your latest posts, WordPress pages are not displayed in chronological order. Newer pages will not displace older pages.
When you publish a page, it remains in that state until you explicitly edit it, which is why WordPress pages are sometimes referred to as static pages. Since pages are static, they’re ideal for displaying evergreen content, such as your website’s e-commerce store, contact page, terms and services—or your homepage.
If you want to replace your blog with a static homepage, then you’ll need to create at least one page. If you don’t already have a page that you want to use as your homepage, then it’s time to create one:

You’ll now be taken to a screen where you can create your homepage by adding content such as images, text and video. As you build your new homepage, you can check how this page will appear to visitors, by clicking WordPress’ Preview button.
As you continue to work on your homepage, don’t forget to save your changes by clicking Save Draft. Note that as long as your homepage is in a draft state, it won’t be visible to anyone but you, so you can hit Save as many times as you want without having to worry about publishing your unfinished work.
Before you publish your homepage, you may want to change its URL. By default, WordPress generates a URL automatically based on your website’s domain name and the page’s Title. To change this automatically-generated address, find the URL towards the top of the screen, click its accompanying Edit button, enter a new URL, and then click OK.
When you’re happy with your new homepage, make it live by clicking the Publish button.
You’re now ready to set this page as your homepage.
Let’s make this new page the first thing visitors see when they visit your website:


The preview window should now update to display the page you just selected. If you’re happy with your new homepage, then click the blue Publish button.
Try reloading your website; it should now display an entirely new homepage!
Your blog may no longer the first thing visitors see, but that doesn’t necessarily mean you want to prevent them from accessing your blog.
As soon as your website spans multiple webpages, you’ll need to give visitors an easy way to navigate between these pages, and one popular option is a menu.
There’s lots of different ways that you can tweak and perfect WordPress’ default menus, but in this section we’ll be creating a simple menu that runs along the top of your website:

Click Add to menu and all of the selected items will be added to the Menu structure section. Your menu items will be displayed in the order they appear in Menu structure.
You can change where an item appears in your menu, by grabbing it in Menu structure and then dropping it into a new location.
When you’re happy with your setup, click Save Menu.
To place this menu on your website, click the Manage Locations tab. Assuming that you want this menu to appear across your entire website, open the Top Menu dropdown and select the menu that you just created.

Click Save Changes to add your new menu to your website.
Now if you open any webpage, it’ll feature a handy menu containing links to all the different sections of your website.
In this article, I showed you how to create a static page, and then set it as your website’s homepage. To make sure every page, post and blog is accessible from your new homepage, we also created a custom navigation menu that makes it easy for visitors to reach every part of your website.
If you’d like to learn more about WordPress menus, then check out how you can transform this standard WordPress menu into a dropdown menu, or take a look at some of our other WordPress tutorials.


Explore thousands of the best WordPress themes ever created on ThemeForest and leading WordPress plugins on CodeCanyon. Purchase these high-quality WordPress themes and plugins and improve your website experience for you and your visitors.

Here are a few of the best-selling and up-and-coming WordPress themes and plugins available for 2020.

.jpg)


Looking for a strategic approach to organic Instagram growth? Wondering how to develop content that will grow your business and your Instagram following? To explore how to use Instagram as a hub for shareable content that leads to business growth, I interview Vanessa Lau on the Social Media Marketing Podcast. Vanessa is a community development […]
The post Instagram Strategy: Growing Your Followers and Business appeared first on Social Media Marketing | Social Media Examiner.


Real fun One Pager for product designer Erd Yakingun in the form of a vintage operating system. Lovely touch with the restart menu item, as well with the About window (containing the site credits) when clicking the top left system icon.