This article was created in partnership with Microsoft. Thank you for supporting the partners who make SitePoint possible.
Typically, each native OS and platform has its own build tools, testing tools, and deployment tools. This often implies that you need separate Continuous Integration (CI) and Continuous Delivery (CD) pipelines for each platform you are working on, thereby duplicating or triplicating your efforts.
Microsoft’s Visual Studio App Center is one of the best ways to deal with the fragmentation of the mobile development landscape: it seamlessly centralises all your Continuous Integration and Continuous Delivery needs in a single place, supporting any platform and framework you may need, including iOS, Android, Windows, macOS, Xamarin, and React Native.
This present tutorial will show you how to use App Center to build, test, and deliver a very simple native Swift iOS app.
Note: You'll need Xcode 8+. If you're following this tutorial to integrate the App Center SDK into an existing app, your app must target iOS 8.0+ and cannot use any other crash reporting library. Also, this tutorial will assume you have a good working knowledge of Git.
Note again: If you’re already familiar with Continuous Integration or Unit Testing, you can skip to the Wrapping up tests section. If not, follow along.
I’ll create a very simple app and some tests to demonstrate the value of Continuous Integration by showing the many ways in which even something seemingly simple should be tested for bugs, and the ease with which this can be achieved in App Center. I'll also go over App Center's Continuous Delivery features and show how painless it is to send your iOS builds to internal and external testers.
Reliable Burgers
Our local burger shop has asked us to build them an app with a simple daily calorie counter, which can also tell the user how many hamburgers they can have without exceeding their daily calorie intake. Let’s assume that a teammate is taking care of the UI, we’re just going to work on the app’s back-end logic.

The client are called Reliable Burgers because they can be relied upon to provide food that’s of the highest quality. A bold claim, but it’s backed up by all the 5 Star restaurant reviews they’ve received. But because they’re not the type that simply make or accept “bold claims” they want independent validation from us that our code will also produces the expected results.
To this end, they have employed a large team of internal and external testers to receive the latest changes to the code as soon as they’re committed to the codebase.
This is where the Continuous Integration and Continuous Delivery features in App Center can help.
Setting up the project
- Open Xcode
- Create a new project, use the iOS Single View App template
- Name it Reliable Burgers
- Make sure to tick Include Unit Tests
Writing code
Open ViewController.swift, and paste the following code above class ViewController: UIViewController { :
class CalorieCounter {

    let maxDailyCalories = 2200

    let caloriesPerBurger = 550

    private var totalCaloriesConsumedToday = 0

    func add(caloriesToAdd: Int) {
        totalCaloriesConsumedToday += caloriesToAdd
    }

    var hamburgersICanStillEatToday: Int {
        return maxDailyCalories - totalCaloriesConsumedToday / caloriesPerBurger
    }
}
Whenever the user consumes food, they'll input the corresponding amount of calories using the add method, which updates totalCaloriesConsumedToday. hamburgersICanStillEatToday computes how many Reliable Hamburgers the user can still eat that day (we just divide the calories the user can still consume that day by the number of calories in a Reliable Hamburger (550)).
That's it, looks like we took care of all the requirements! Let's commit, push, send to the testers, and we're done for the day.
Continuous Integration using App Center Build & Test
Catching Bugs
Less than 10 minutes after you've opened Reddit, you receive these messages from testers:
The app said I could still eat more than 2000 Reliable Burgers, so I bought and ate 20 and now I'm not feeling too well!
So clearly our code needs fixing. But rather than just applying the fixes, we should also write tests to ensure that these bugs won’t appear again.
You Can't Eat 2200 Burgers
We can reproduce the error thus:
let counter = CalorieCounter()
print(counter.hamburgersICanStillEatToday) // 2200
How could hamburgersICanStillEatToday return a number over 2000? Let's take a closer look at the operation we're doing:
var hamburgersICanStillEatToday: Int {
    return maxDailyCalories - totalCaloriesConsumedToday / caloriesPerBurger
}
Assume totalCaloriesConsumedToday is 0 and caloriesPerBurger is 550. The operation is: 2200 - 0 / 550. The bad result is due to our ignoring an elementary rule of maths: divisions are carried out before subtractions. Swift follows these rules to the letter, so it starts by dividing 0 by 550, obtaining 0, then subtracting 0 from 2200. hamburgersICanStillEatToday is thus 2200 when totalCaloriesConsumedToday is 0!
Before we write a fix, let's ensure that we never again tell a user they can eat 2200 burgers! Assuming that a human should consume approximately 2200 calories a day, and that a burger is approximately 550 calories, hamburgersICanStillEatToday should never return a number above 4 (a figure we get by dividing 2200 by 550, keeping our users (and our client) happy).
Open Reliable_BurgersTests.swift (located within the Reliable BurgersTests folder in Xcode), and add the following lines beneath class Reliable_BurgersTests: XCTestCase {
func testHamburgersICanStillEatTodayReturnsWithinRange() {
    let counter = CalorieCounter()
    XCTAssert(counter.hamburgersICanStillEatToday <= 4, "we should NOT recommend eating more than four hamburgers a day!")
    XCTAssert(counter.hamburgersICanStillEatToday >= 0)
}
This test method will recreate the scenario our above user encountered by creating a new CalorieCounter from scratch and querying it for hamburgersICanStillEatToday. The XCTAssert methods will expect the expression within their parentheses to be true. If all XCTAsserts pass, the test passes. If one or more fails, the test fails.
Let's test our app! Go ahead and press ⌘ + U (or long click on the run button in the top left of the screen, and select Test)
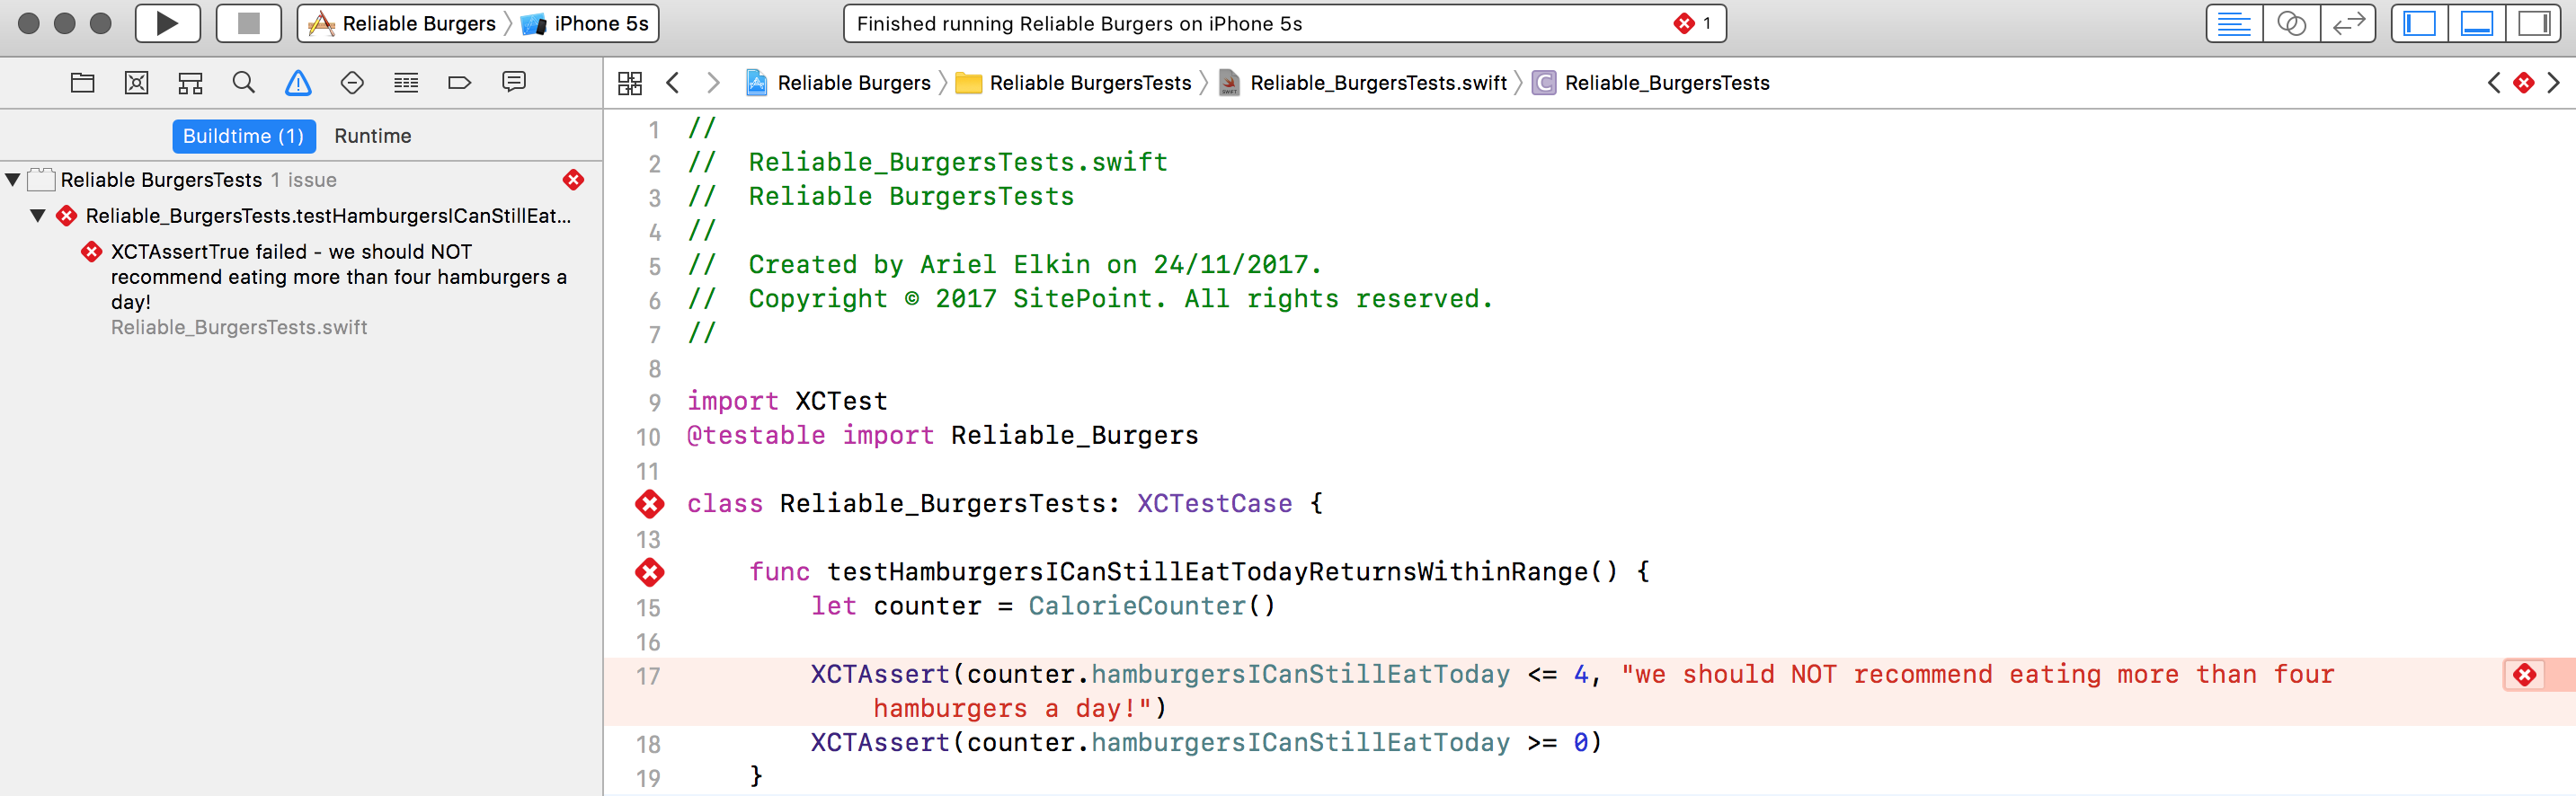
testHamburgersICanStillEatTodayReturnsWithinRange fails, as expected.
Now go to ViewController.swift and implement the fix (simply involves adding parentheses in the right place):
var hamburgersICanStillEatToday: Int {
    return (maxDailyCalories - totalCaloriesConsumedToday) / caloriesPerBurger
}
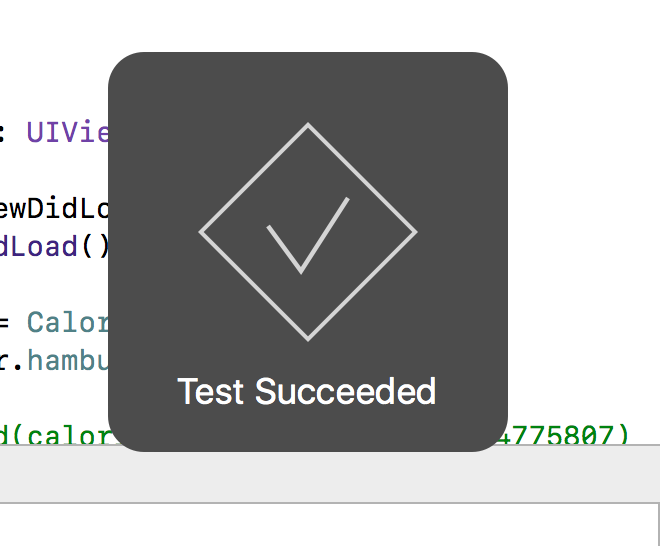
hamburgersICanStillEatToday should now pass the test, let's press ⌘ + U to verify that. Here's the output:
Wrapping up tests
These two tests ensure that the two bugs we identified earlier on don't sneak into our app again. We must now make sure that these tests pass before new code is merged into the codebase, and before an app is sent to users.
App Center will make it easy for us to ensure this!
Sharing the Xcode scheme
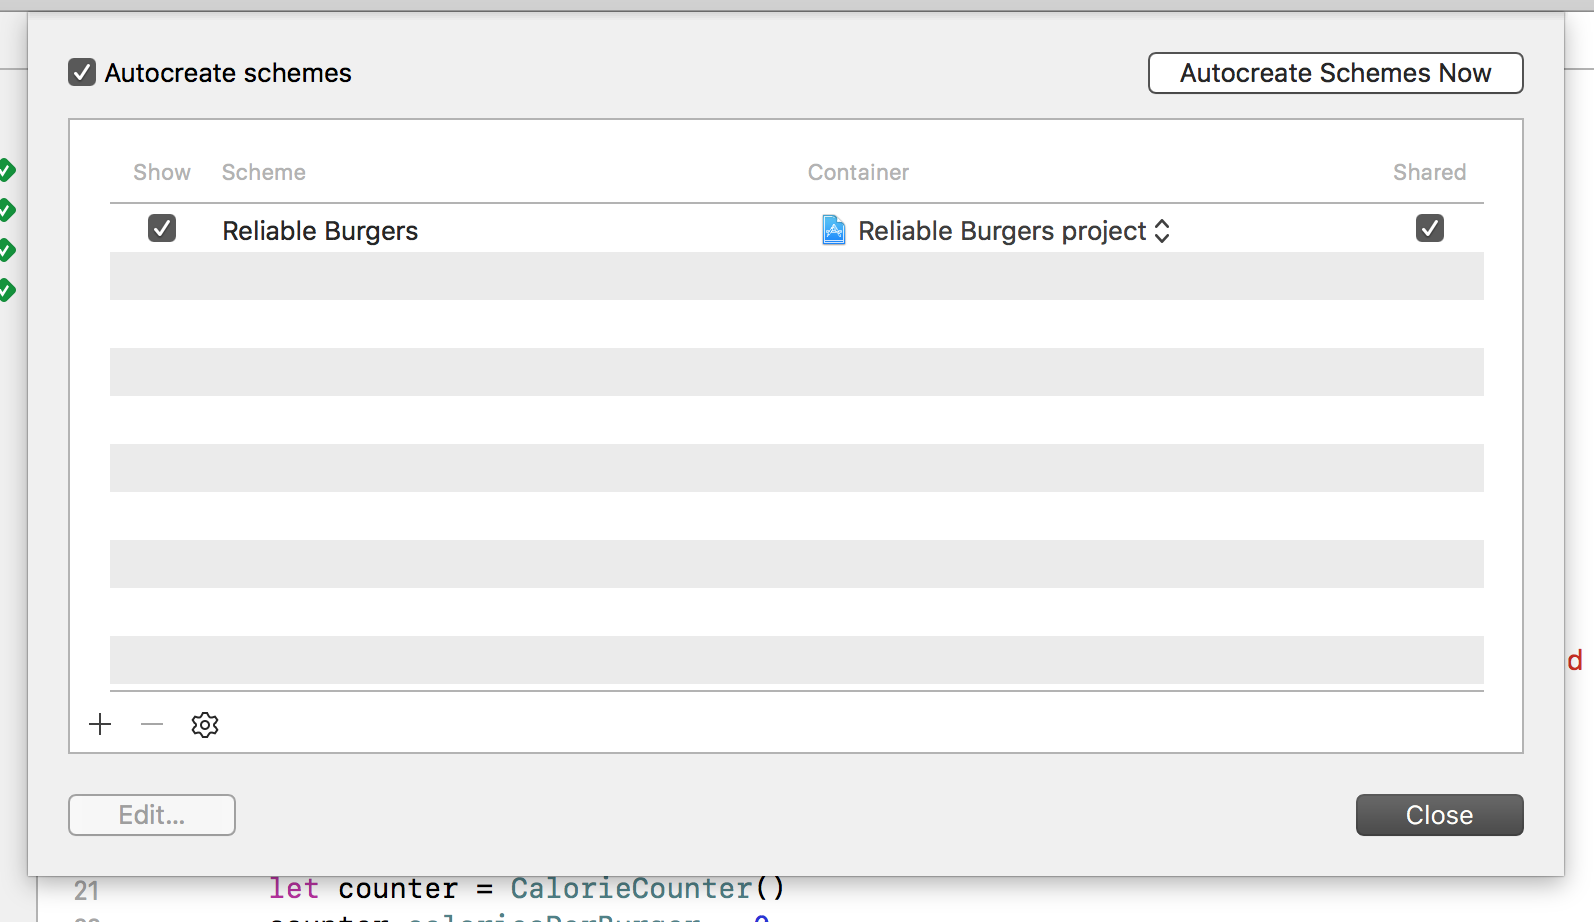
In order for App Center to build our Xcode project, we need to share the Xcode scheme.
To share a scheme, alt + click on Xcode's run button, click on Manage Schemes, and ensure the Shared box is ticked.
Committing and pushing the code
App Center can build and test our app once it's hosted on GitHub, Bitbucket, or Visual Studio Team Services. Continuous Integration always works in tandem with version control.
To continue, create a new repository in one of the above services (I'll use GitHub for the remainder of this tutorial) named Reliable Burgers. Then, commit the entire directory we just worked on:
/Reliable Burgers/
|-- Reliable Burgers.xcodeproj/
|-- Reliable Burgers/
|-- Reliable BurgersTests/
and push.
Building and Testing using App Center Portal
-
Visit appcenter.ms and click on the link to Get Started (you can then sign up for a new account or sign in with Github, Microsoft, Facebook, or Google)
-
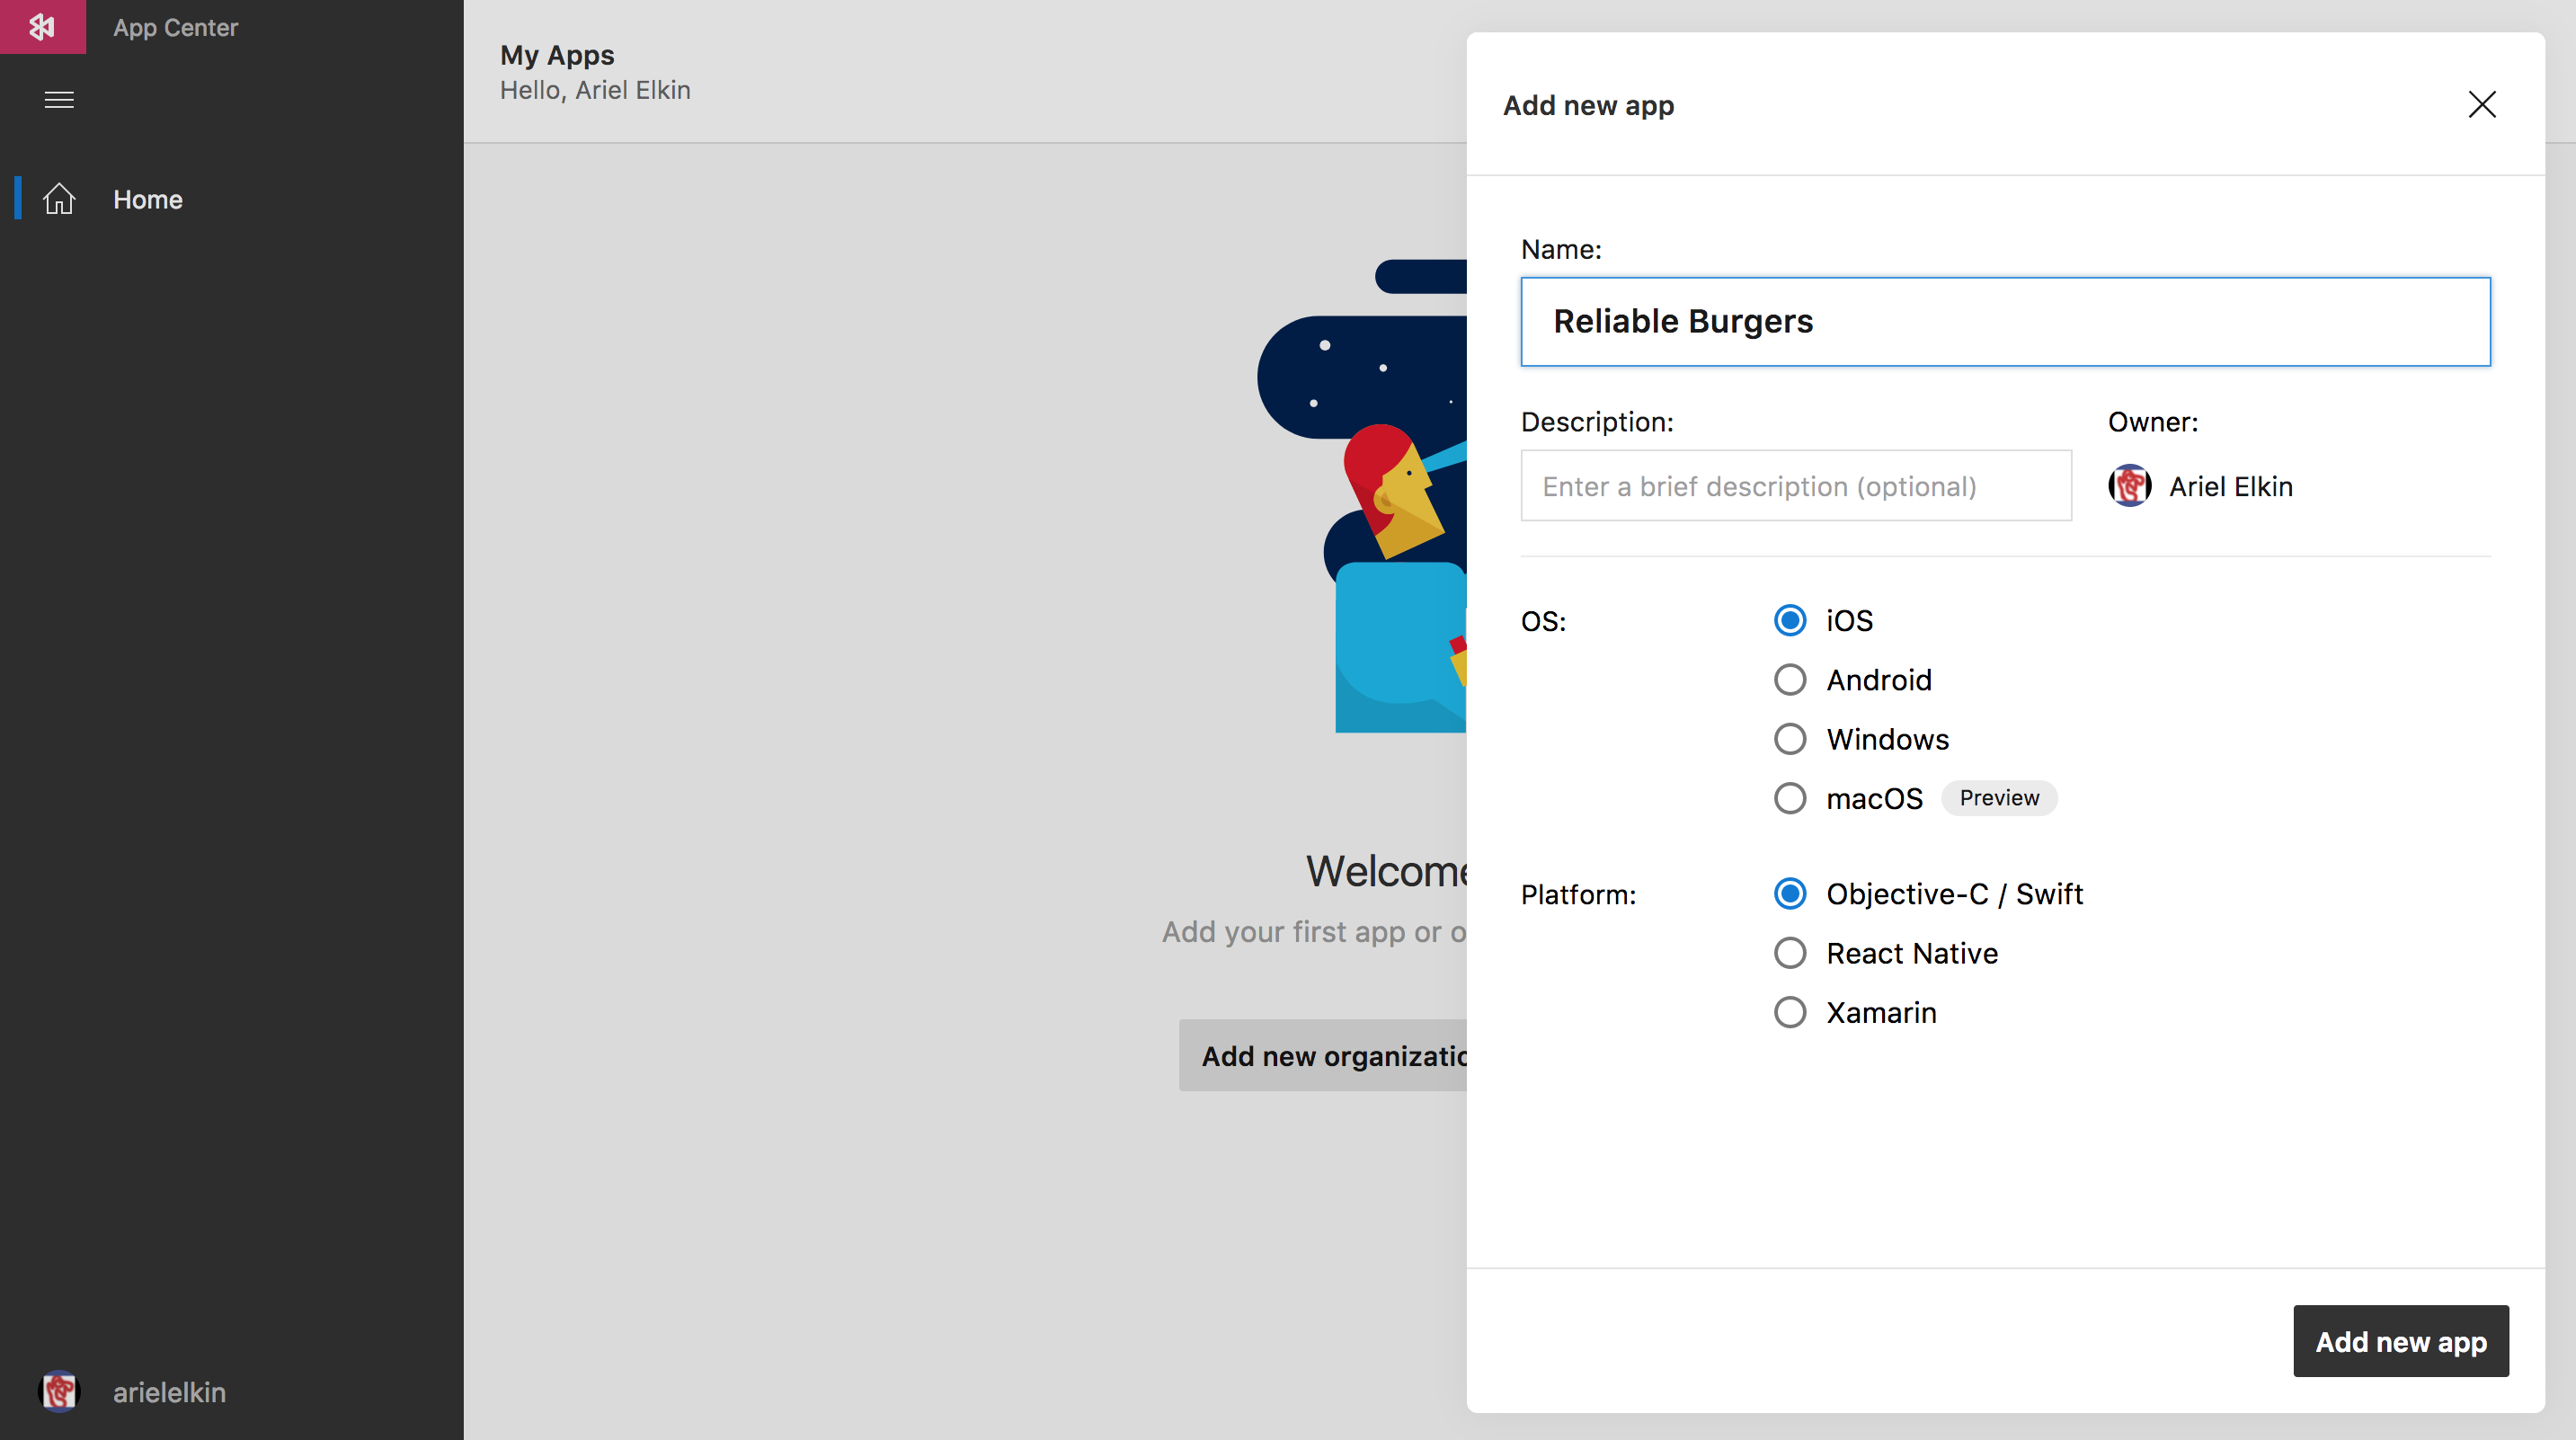
Once you're in, click on Add New App, set Reliable Burgers as the name, select iOS as the OS, and Objective-C/Swift as the platform.
-
In App Center's left column, click on Build, connect your hosting service if needed, and select your repository.
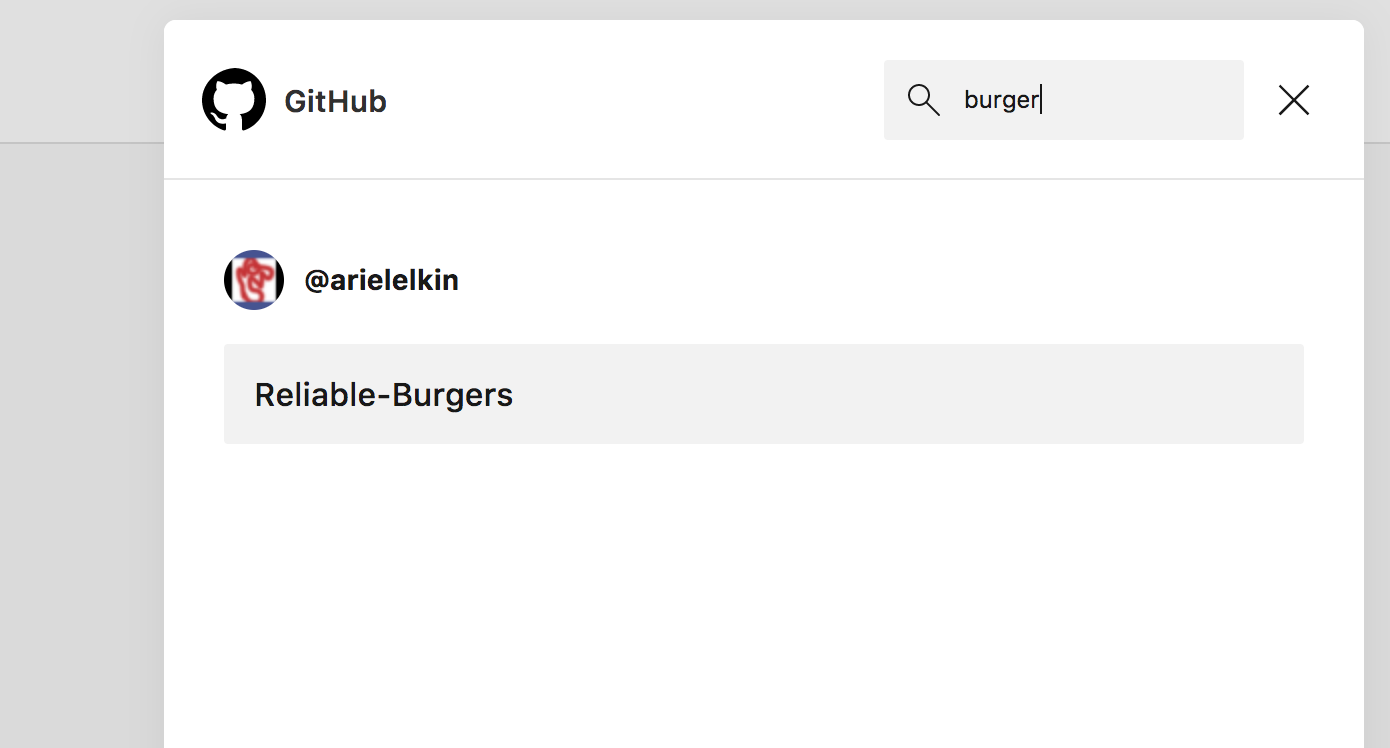
-
Reliable Burgers is now being handled by App Center! Now let's click on "Configure Build" and take a look at the options:
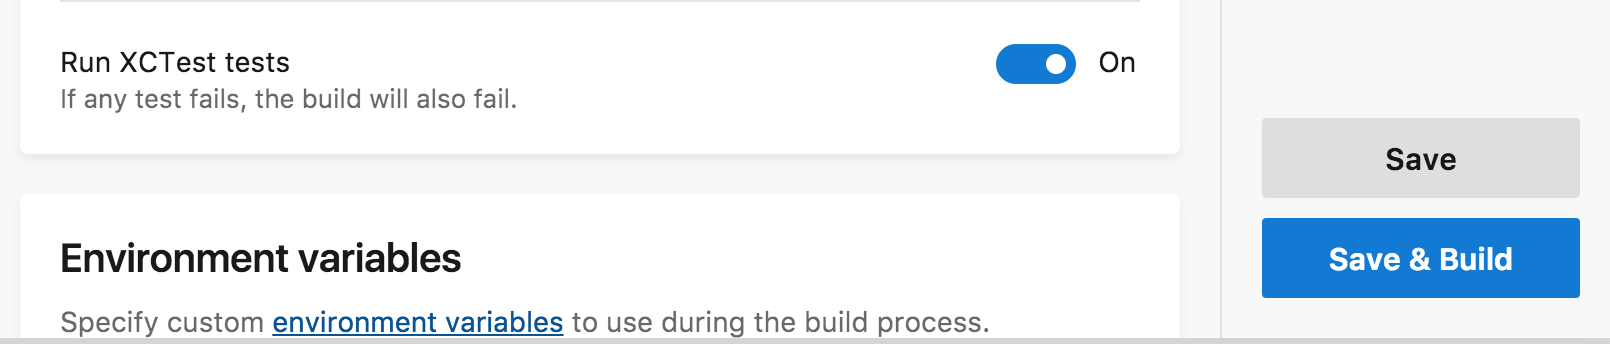
-
Turn the Run XCTest tests to On. We want the build to fail if any of the tests fail!
-
Click on Save & Build.
Continue reading %How To Use App Center To Build, Test And Deliver iOS Apps%
by Ariel Elkin via SitePoint
No comments:
Post a Comment