A few months ago I was at the Berlin Blockchain awards, and it appears that 'blockchain' is the new buzzword that startups and tech-folk like to throw into everything, without completely understanding the concepts behind it.
Whether you believe that blockchain is just a new buzzword for the industry or a truly revolutionary technology, developers are often uncertain of how they can use the blockchain concept in their applications. Eris Industries' solution might make this a bit easier.
Eris Industries packages blockchain and smart contract concepts to make them more usable and apply them to your project. The best projects for this sort of technology are ideas that need a form of decentralized trust and security.
In this article, I will create a demo application that is a library of names of privileged users for a hypothetical situation. In the final section of the tutorial, the application will let you change a name in the list and check the values.
Installation and Setup
Installing Eris is confusing, the instructions on their homepage didn't work for me, and I ended up following the steps in their more in-depth instructions instead. For me, on my Mac, I installed Docker Toolbox (Docker is a requirement) and then installed Eris with Homebrew.
Once installed, setup Eris with the following command which will create configuration files and download the (large) Docker images required:
[code language="bash"]
eris init
[/code]
Note: It isn't clear in the Eris documentation, but it's best to run the rest of the commands in this tutorial within the Docker context. This mainly applies to Mac and Windows, find more details here.
Granting Access
Start an Eris keys service for authentication with:
[code language="bash"]
eris services start keys
[/code]
This command starts a service based on the keys service definition, these definitions are found inside the ~/.eris/services folder. Eris creates some by default for pre-defined application types (e.g. Tor, ipfs, and bigchaindb), but you can also create your own.
Now create some keys to allow particular users access to the service and application:
[code language="bash"]
eris keys gen
[/code]
Save the key for later use, replacing the key value with the key you just generated:
[code language="bash"]
eris keys export E0F4BA1E6D15503074239A663101547074889574
[/code]
And use the following command to check what keys are available across your host machine and containers:
[code language="bash"]
eris keys ls
[/code]
If you want to read more about keys with Eris, then I recommend their key tutorial.
Creating a Blockchain
Next, create a blockchain with a name (library_chain) and a type (simplechain):
[code language="bash"]
eris chains make library_chain --account-types=Root:2,Full:1 simplechain
[/code]
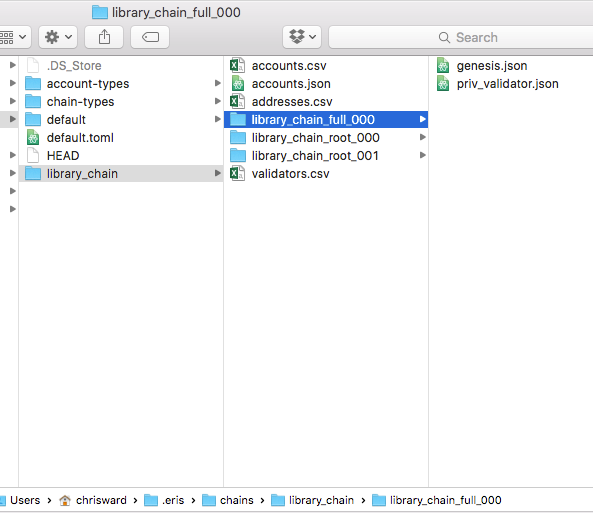
If you dig inside the hidden ~/.eris folder you will see the files generated from this command. Inside ~/.eris/chains/library_chain are a series of files:

- genesis.json: Tells eris how to instantiate a particular blockchain, providing the "genesis" state of the blockchain.
- accounts.csv and validators.csv: You can use two files later to create a new genesis.json if it gets lost.
- addresses.csv: Has the addresses and the "names" of the nodes.
Now you're ready to instantiate the Blockchain:
[code language="bash"]
eris chains new library_chain --dir ~/.eris/chains/library_chain/library_chain_full_000
[/code]
Check that the chain exists and is running:
[code language="bash"]
eris chains ls
[/code]
Continue reading %Building Your First Blockchain App with Eris%
by Chris Ward via SitePoint
No comments:
Post a Comment