With the advent of WebRTC and the increasing capacity of browsers to handle peer-to-peer communications in real time, it’s easier than ever to build real-time applications. In this tutorial, we’ll take a look at SimpleWebRTC and how it can make our lives easier when implementing WebRTC. Throughout the article, we’ll be building a WebRTC video chat app with messaging features.
If you need a bit of a background regarding WebRTC and peer-to-peer communication, I recommend reading The Dawn of WebRTC and Introduction to the getUserMedia API.
What is SimpleWebRTC
Before we move on, it’s important that we understand the main tool that we’ll be using. SimpleWebRTC is a JavaScript library that simplifies WebRTC peer-to-peer data, video, and audio calls.
SimpleWebRTC acts as a wrapper around the browser’s WebRTC implementation. As you might already know, browser vendors don’t exactly agree on a single way of implementing different features, which means that for every browser there’s a different implementation for WebRTC. As the developer, you’d have to write different code for every browser you plan to support. SimpleWebRT acts as the wrapper for that code. The API that it exposes is easy to use and understand, which makes it a really great candidate for implementing cross-browser WebRTC.
Building the WebRTC Video Chat App
Now it’s time to get our hands dirty by building the app. We’ll build a single page application that runs on top of an Express server.
Please note that you can download the code for this tutorial from our GitHub repo. To run it, or to follow along at home, you’ll need to have Node and npm installed. If you’re not familiar with these, or would like some help getting them installed, check out our previous tutorials:
You also need a PC or laptop that has a webcam. If not, you’ll need to get yourself a USB webcam that you can attach to the top of your monitor. You’ll probably need a friend or a second device to test remote connections.
Dependencies
We’ll be using the following dependencies to build our project:
- SimpleWebRTC — the WebRTC library
- Semantic UI CSS — an elegant CSS framework
- jQuery — used for selecting elements on the page and event handling.
- Handlebars — a JavaScript templating library, which we’ll use to generate HTML for the messages
- Express — NodeJS server.
Project Setup
Go to your workspace and create a folder simplewebrtc-messenger. Open the folder in VSCode or your favorite editor and create the following files and folder structure:
simplewebrtc-messenger
├── public
│   ├── images
│   │   └── image.png
│   ├── index.html
│   └── js
│       └── app.js
├── README.md
└── server.js
Or, if you prefer, do the same via the command line:
mkdir -p simplewebrtc-messenger/public/{images,js}
cd simplewebrtc-messenger
touch public/js/app.js public/index.html .gitignore README.md server.js
Open README.md and copy the following content:
# Simple WebRTC Messenger

A tutorial on building a WebRTC video chat app using SimpleWebRTC.
Add the line node_modules to the .gitignore file if you plan to use a git repository. Generate the package.json file using the following command:
npm init -y
You should get the following output:
{
  "name": "simplewebrtc-messenger",
  "version": "1.0.0",
  "description": "A tutorial on building a WebRTC video chat app using SimpleWebRTC.",
  "main": "server.js",
  "scripts": {
    "test": "echo \"Error: no test specified\" && exit 1",
    "start": "node server.js"
  },
  "keywords": [],
  "author": "",
  "license": "ISC"
}
Now let’s install our dependencies:
npm install express handlebars jquery semantic-ui-css simplewebrtc
As the installation proceeds, copy this code to server.js:
const express = require('express');

const app = express();
const port = 3000;

// Set public folder as root
app.use(express.static('public'));

// Provide access to node_modules folder from the client-side
app.use('/scripts', express.static(`${__dirname}/node_modules/`));

// Redirect all traffic to index.html
app.use((req, res) => res.sendFile(`${__dirname}/public/index.html`));

app.listen(port, () => {
  console.info('listening on %d', port);
});
The server code is pretty standard. Just read the comments to understand what’s going on.
Next, let’s set up our public/index.html file:
<!DOCTYPE html>
<html lang="en">
<head>
  <meta charset="UTF-8">
  <meta name="viewport" content="width=device-width, initial-scale=1.0">
  <meta http-equiv="X-UA-Compatible" content="ie=edge">
  <link rel="stylesheet" href="scripts/semantic-ui-css/semantic.min.css">
  <title>SimpleWebRTC Demo</title>
  <style>
    html { margin-top: 20px; }
    #chat-content { height: 180px;  overflow-y: scroll; }
  </style>
</head>
<body>
  <!-- Main Content -->
  <div class="ui container">
    <h1 class="ui header">Simple WebRTC Messenger</h1>
    <hr>
  </div>

  <!-- Scripts -->
  <script src="scripts/jquery/dist/jquery.min.js"></script>
  <script src="scripts/semantic-ui-css/semantic.min.js"></script>
  <script src="scripts/handlebars/dist/handlebars.min.js "></script>
  <script src="scripts/simplewebrtc/out/simplewebrtc-with-adapter.bundle.js"></script>
  <script src="js/app.js"></script>
</body>
</html>
Next, let’s set up our base client-side JavaScript code. Copy this code to public/js/app.js:
window.addEventListener('load', () => {
  // Put all client-side code here
});
Finally, download this image from our GitHub repository and save it inside the public/images folder.
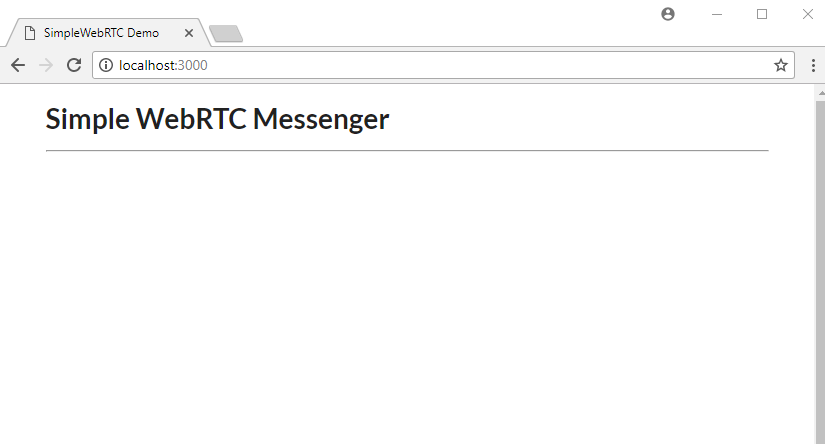
Now we can run our app:
npm start
Open the URL localhost:3000 in your browser and you should see the following:
Continue reading %Building a WebRTC Video Chat Application with SimpleWebRTC%
by Michael Wanyoike via SitePoint
No comments:
Post a Comment