[ This is a content summary only. Visit our website https://ift.tt/1b4YgHQ for full links, other content, and more! ]
by Neha Zaidi via Digital Information World
"Mr Branding" is a blog based on RSS for everything related to website branding and website design, it collects its posts from many sites in order to facilitate the updating to the latest technology.
To suggest any source, please contact me: Taha.baba@consultant.com

This "Most Loved" One Page website round-up is brought to you by hosting provider, Bluehost.
Bluehost is the most affordable hosting option to host your One Page websites. They have an incredible $2.95/month deal exclusive to One Page Readers where you can host your website with 50GB diskspace and unlimited bandwidth. They also throw in a free domain!
If you want to get notified about the "Most Loved" awards each month, subscribe to our Inspiration Newsletter.
Below are the Top 5 One Page websites awarded “Most Loved” in June – hope you enjoy!
Captivating One Pager taking us to the slopes on the famous Japanese island of Hokkaido. Features include rich big imagery, looping videos, a unique gallery slider and a fascinating Tokyo Lifestyle section with parallax scrolling elements.

Awesome campaign by Strava for their #GiveKudos hashtag campaign. The long-scrolling One Pager features neat animations when hovering images, an interactive Kudos Creator and of course a curated feed of images using the #GiveKudos hashtag.

Slick Landing Page by Avocode promoting their 2017 UI Design Report. The long-scrolling site teases snippets of stats along with gorgeous animations enticing you to request the full report download (while joining their newsletter). Neat touch with the design platforms preloader and how you can share each highlighted statistic via the social icons in each section.

Beautifully designed Landing Page for Vox Vertical Village – a new residential building in Timisoara, Romania. The Single Page website features subtle parallax scrolling effects, quality big imagery, good whitespace and stunning typography.

Gorgeously arranged case study in a One Pager presenting the gorgeous new UEFA Champions League branding. The super long-scrolling site showcases their new opening titles, European night sky color palette, Champions typeface, motion graphics, studio designs, merchandise and more.

Hope you enjoyed these beautiful One Pagers from June!
Big love to hosting provider Bluehost for sponsoring the round up < 3
face-api.js is a JavaScript API for face recognition and face detection in the browser by using tensorflow.js
Captivating One Pager taking us to the slopes on the famous Japanese island of Hokkaido. Features include rich big imagery, looping videos, a unique gallery slider and a fascinating Tokyo Lifestyle section with parallax scrolling elements.
Every now and then, you will have to show an alert box to your users to let them know about an error or notification. The problem with the default alert boxes provided by browsers is that they are not very attractive. When you are creating a website with great color combinations and fancy animation to improve the browsing experience of your users, the unstyled alert boxes will seem out of place.
In this tutorial, you will learn about a library called SweetAlert2 that allows us to create all kinds of alert messages which can be customized to match the look and feel of our own website.
Before you can show all those sweet alert messages to your users, you will have to install the library and include it in your project. If you are using npm or bower, you can install it by running the following commands:
npm install sweetalert2
bower install sweetalert2
You can also get a CDN link for the latest version of the library and include it in your webpage using script tags:
<script src="https://cdn.jsdelivr.net/npm/sweetalert2@7.12.15/dist/sweetalert2.all.min.js"></script>
Besides the JavaScript file, you will also have to load a CSS file which is used to style all the alert boxes created by the library:
<link rel='stylesheet' href='https://cdn.jsdelivr.net/npm/sweetalert2@7.12.15/dist/sweetalert2.min.css'>
Once you have installed the library, creating a sweet alert is actually very easy. All you have to do is call the swal() function. Just make sure that the function is called after the DOM has loaded.
There are two ways to create a sweet alert using the swal() function. You can either pass the title, body text and icon value in three different arguments or you can pass a single argument as an object with different values as its key-value pairs. Passing everything in an object is useful when you want to specify values for multiple arguments.
When a single argument is passed and it is a string, the sweet alert will only show a title and an OK button. Users will be able to click anywhere outside the alert or on the OK button in order to dismiss it.
When two arguments are passed, the first one becomes the title and the second one becomes the text inside the alert. You can also show an icon in the alert box by passing a third argument. This can have any of the five predefined values: warning, error, success, info, and question. If you don't pass the third argument, no icon will be shown inside the alert message.
document.querySelector(".first").addEventListener('click', function(){
  swal("Our First Alert");
});

document.querySelector(".second").addEventListener('click', function(){
  swal("Our First Alert", "With some body text!");
});

document.querySelector(".third").addEventListener('click', function(){
  swal("Our First Alert", "With some body text and success icon!", "success");
});
If you simply want to show some basic information inside an alert box, the previous example will do just fine. However, the library can actually do a lot more than just simply show users some text inside an alert message. You can change every aspect of these alert messages to suit your own needs.
We have already covered the title, the text, and the icons inside a sweet alert message. There is also an option to change the buttons inside it and control their behavior. By default, an alert will only have a single confirm button with text that says "OK". You can change the text inside the confirm button by setting the value of the confirmButtonText property. If you also want to show a cancel button in your alert messages, all you have to do is set the value of showCancelButton to true. The text inside the cancel button can be changed using the cancelButtonText property.
Each of these buttons can be given a different background color using the confirmButtonColor and cancelButtonColor properties. The default color for the confirm button is #3085d6, while the default color for the cancel button is #aaa. If you want to apply any other customization on the confirm or cancel buttons, you can simply use the confirmButtonClass and cancelButtonClass properties to add a new class to them. Once the classes have been added, you will be able to use CSS to change the appearance of those buttons. You can also add a class on the main modal itself by using the customClass property.
If you interacted with the alert messages in the first example, you might have noticed that the modals can be closed by pressing either the Enter or Escape key. Similarly, you can also click anywhere outside the modal in order to dismiss it. This happens because the value of allowEnterKey, allowEscapeKey, and allowOutsideClick is set to true by default.
When you show two different buttons inside a modal, the confirm button is the one which is in focus by default. You can remove the focus from the confirm button by setting the value of focusConfirm to false. Similarly, you can also set the focus on the cancel button by setting the value of focusCancel to true.
The confirm button is always shown on the left side by default. You have the option to reverse the positions of the confirm and cancel buttons by setting the value of reverseButtons to true.
Besides changing the position and color of buttons inside the alert messages, you can also change the background and position of the alert message or the backdrop around it. Not only that, but the library also allows you to show your own custom icons or images in the alert messages. This can be helpful in a lot of situations.
You can customize the backdrop of a sweet alert using the backdrop property. This property accepts either a Boolean or a string as its value. By default, the backdrop of an alert message consists of mostly transparent gray color. You can hide it completely by setting the value of backdrop to false. Similarly, you can also show your own images in the background by setting the backdrop value as a string. In such cases, the whole value of the backdrop string is assigned to the CSS background property. The background of a sweet alert message can be controlled using the background property. All alert messages have a completely white background by default.
All the alert messages pop up at the center of the window by default. However, you can make them pop up from a different location using the position property. This property can have nine different values with self-explanatory names: top, top-start, top-end, center, center-start, center-end, bottom, bottom-start, and bottom-end.
You can disable the animation when a modal pops up by setting the value of the animation property to false. The library also provides a timer property which can be used to auto-close the timer once a specific number of milliseconds have passed.
In the following example, I have used different combinations of all the properties discussed in this section to create four different alert messages. This should demonstrate how you can completely change the appearance and behavior of a modal created by the SweetAlert2 library.
document.querySelector(".first").addEventListener("click", function() {
  swal({
    title: "Show Two Buttons Inside the Alert",
    showCancelButton: true,
    confirmButtonText: "Confirm",
    confirmButtonColor: "#00ff99",
    cancelButtonColor: "#ff0099"
  });
});

document.querySelector(".second").addEventListener("click", function() {
  swal({
    title: "Are you sure about deleting this file?",
    type: "info",
    showCancelButton: true,
    confirmButtonText: "Delete It",
    confirmButtonColor: "#ff0055",
    cancelButtonColor: "#999999",
    reverseButtons: true,
    focusConfirm: false,
    focusCancel: true
  });
});

document.querySelector(".third").addEventListener("click", function() {
  swal({
    title: "Profile Picture",
    text: "Do you want to make the above image your profile picture?",
    imageUrl: "https://images3.imgbox.com/4f/e6/wOhuryw6_o.jpg",
    imageWidth: 550,
    imageHeight: 225,
    imageAlt: "Eagle Image",
    showCancelButton: true,
    confirmButtonText: "Yes",
    cancelButtonText: "No",
    confirmButtonColor: "#00ff55",
    cancelButtonColor: "#999999",
    reverseButtons: true,
  });
});

document.querySelector(".fourth").addEventListener("click", function() {
  swal({
    title: "Alert Set on Timer",
    text: "This alert will disappear after 3 seconds.",
    position: "bottom",
    backdrop: "linear-gradient(yellow, orange)",
    background: "white",
    allowOutsideClick: false,
    allowEscapeKey: false,
    allowEnterKey: false,
    showConfirmButton: false,
    showCancelButton: false,
    timer: 3000
  });
});
Initializing different sweet alert messages to show them to users is one thing, but sometimes you will also need access to methods which control the behavior of those alert messages after initialization. Fortunately, the SweetAlert2 library provides many methods that can be used to show or hide a modal as well as get its title, text, image, etc.
You can check if a modal is visible or hidden using the isVisible() method. You can also programmatically close an open modal by using the close() or closeModal() methods. If you happen to use the same set of properties for multiple alert messages during their initialization, you can simply call the setDefaults({configurationObject}) method in the beginning to set the value of all those properties at once. The library also provides a resetDefaults() method to reset all the properties to their default values.
You can get the title, content, and image of a modal using the getTitle(), getContent(), and getImage() methods. Similarly, you can also get the HTML that makes up the confirm and cancel buttons using the getConfirmButton() and getCancelButton() methods.
There are a lot of other methods which can be used to perform other tasks like programmatically clicking on the confirm or cancel buttons.
The SweetAlert2 library makes it very easy for developers to create custom alert messages to show to their users by simply setting the values of a few properties. This tutorial was aimed at covering the basics of this library so that you can create your own custom alert messages quickly.
To prevent the post from getting too big, I have only covered the most commonly used methods and properties. If you want to read about all the other methods and properties which can be used to create advanced alert messages, you should go through the detailed documentation of the library.
Don't forget to check out the other JavaScript resources we have available in the Envato Market, as well.
Feel free to let me know if there is anything that you would like me to clarify in this tutorial.


Welcome to this week’s edition of the Social Media Marketing Talk Show, a news show for marketers who want to stay on the leading edge of social media. On this week’s Social Media Marketing Talk Show, we explore YouTube creator monetization updates and Premieres with Steve Dotto, Instagram video chat, Topics channels, IGTV Guidebook, and [...]
The post YouTube Announces Creator Monitization Updates appeared first on Social Media Examiner.
Long-scrolling One Pager for Josef Lueger featuring a unique content flipping feature. Also really dig the intro video header where you can direct Josef to do any of the 3 actions listed. Lovely touch and well executed!
The official website of the famous celebrity Mohamed Hamaki, one of the leading pop singers in the Middle East & the Arab world
Roud Studio is creative agency that make 100% irreproachable digital products that bring changes in future minds.
A tutorial about creating drinks - restaurant menu with super cool animation using CSS and JavaScript.
Chrome DevTools incorporates many sub-tools for debugging web applications on the client side --- like recording performance profiles and inspecting animations --- most of which you've likely been using since your early days of learning web development, mostly through the DevTools console.
Let's look at some of those tools, focusing particularly on the console and the performance metrics.
To access Chrome's DevTools:
Ctrl + Shift + I on Windows and Linux systems or Alt + Command + I on macOSCtrl + Shift + J on Windows and Linux systems or Alt + Command + J on macOS.If you're frequently writing JavaScript code right in the console, make sure to use the Snippets feature of DevTools instead, which is similar to a code editor and provides mechanisms to write JavaScript code snippets, run them in the context of the current page and save them for later. It's better than writing multi-line JavaScript code directly in the console.
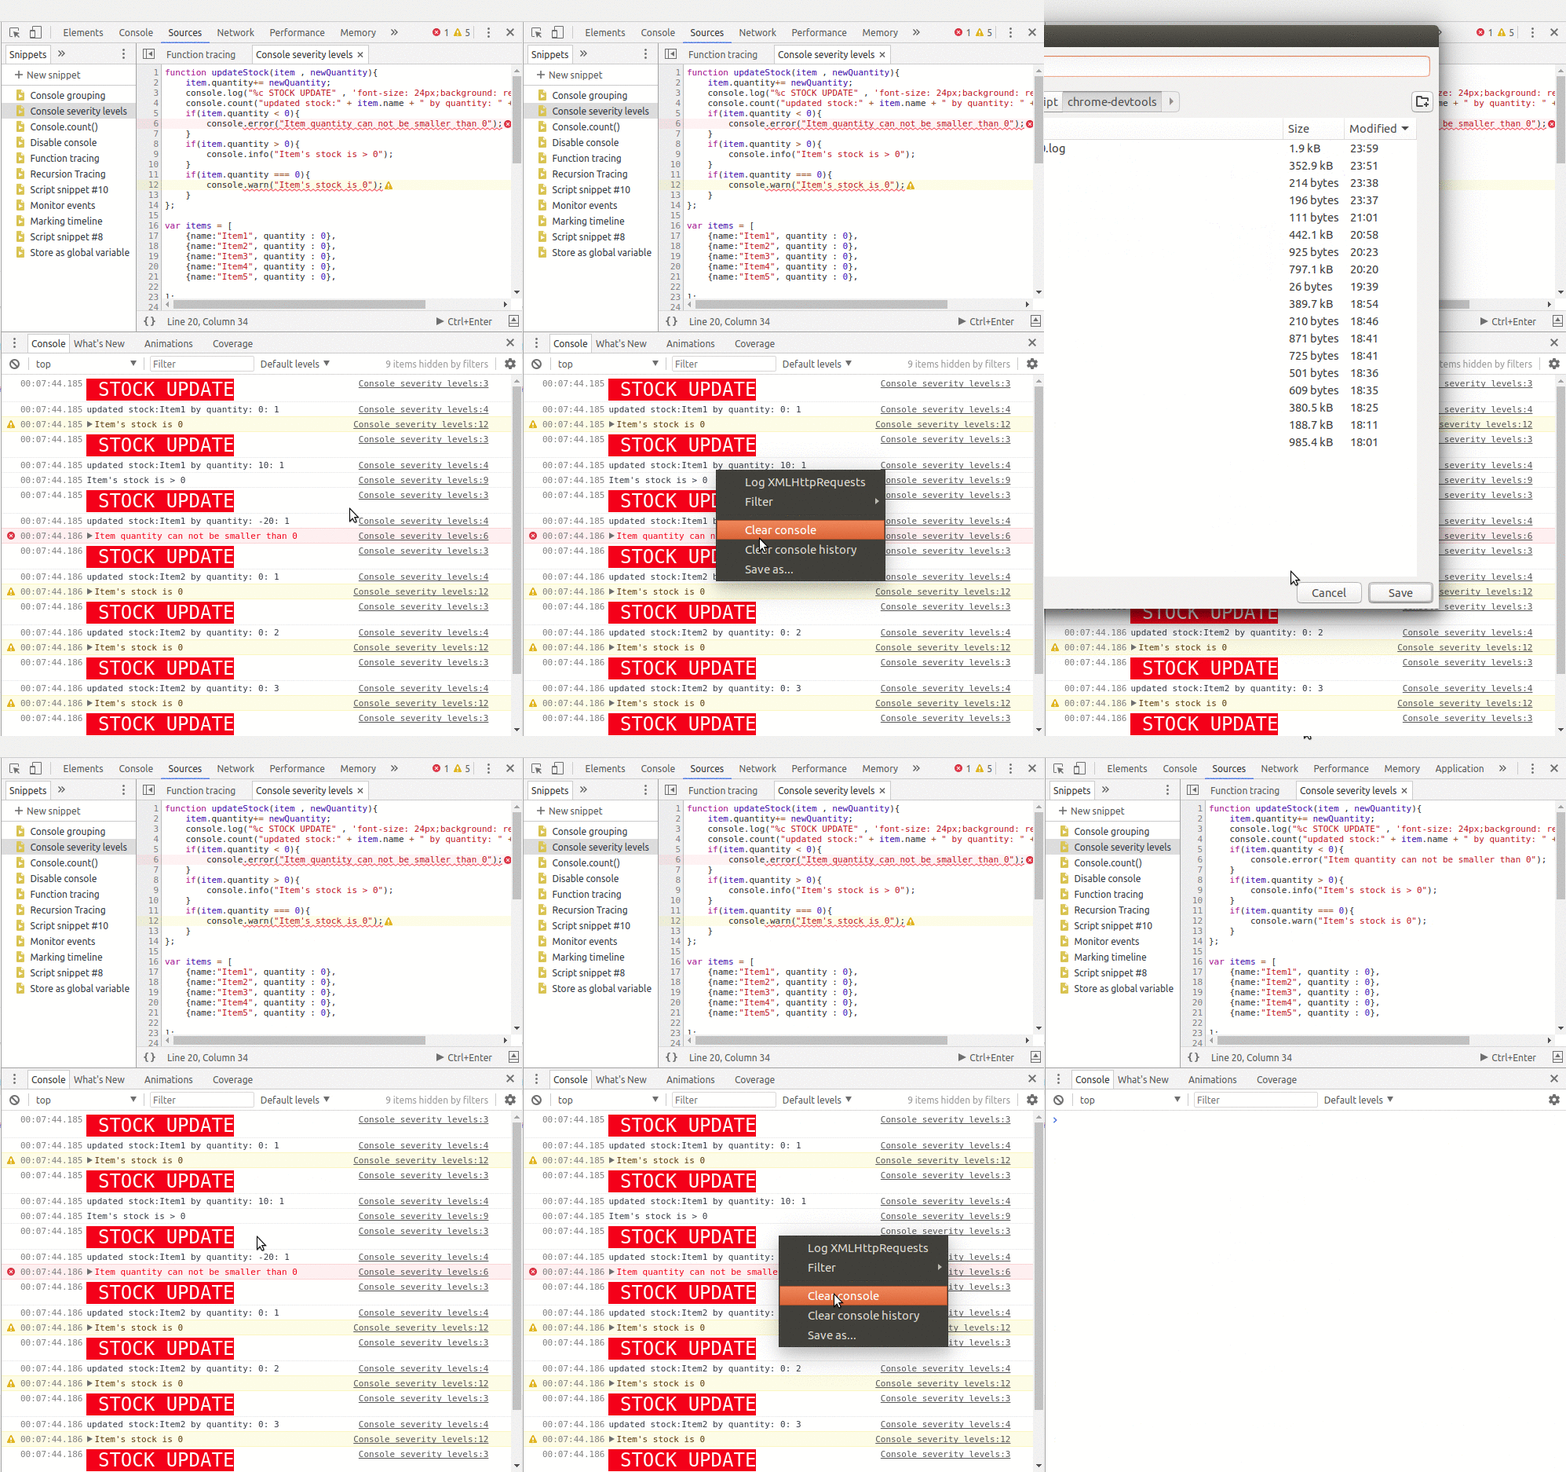
You can access the Snippets tool from the Sources panel. Once open, the console gets stacked below (if it doesn't, just press Escape) so you can write, run your code and see the console output at the same time.
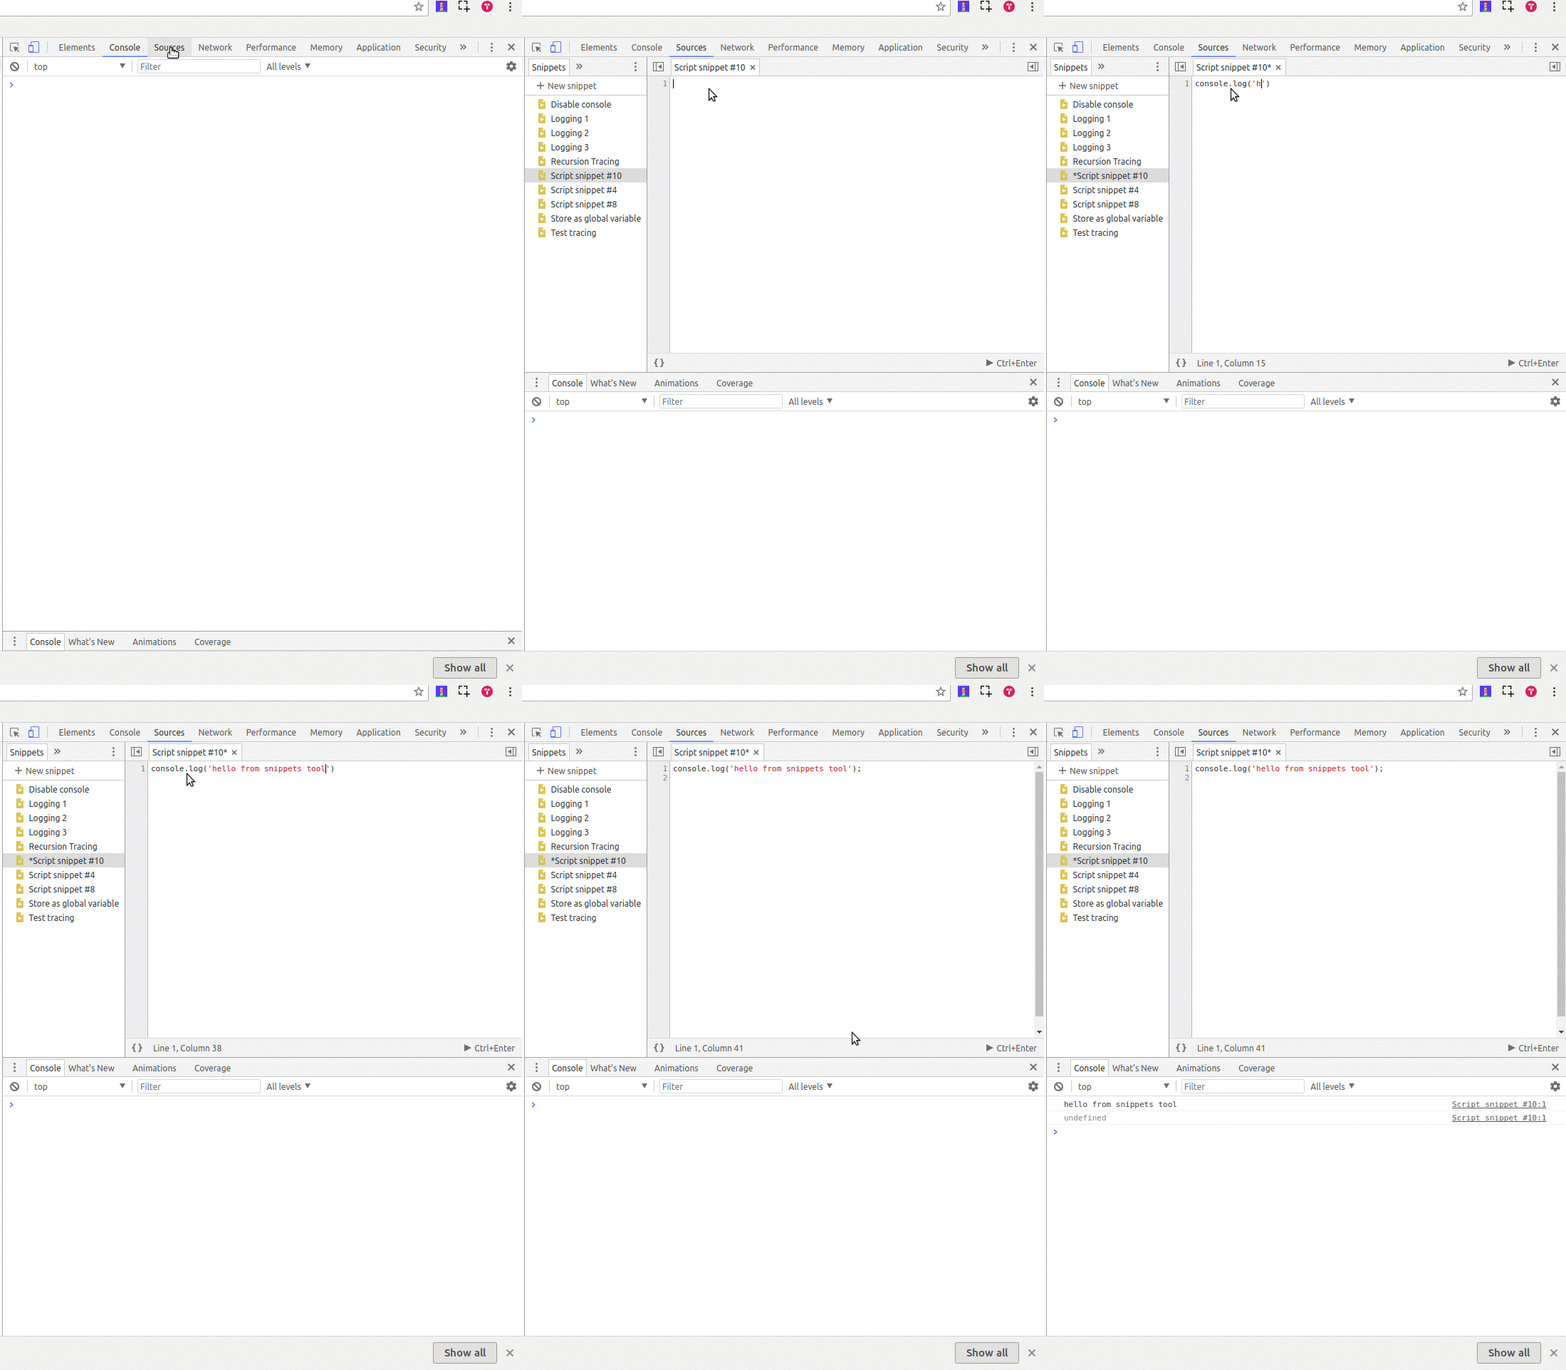
You can use the console to interact with any web page using JavaScript. You can query and change the DOM and query/output different types of performance information.
The console can be opened either as a full-screen dedicated panel or as a drawer next to any other DevTools panel by pressing Escape while DevTools is open and has focus.
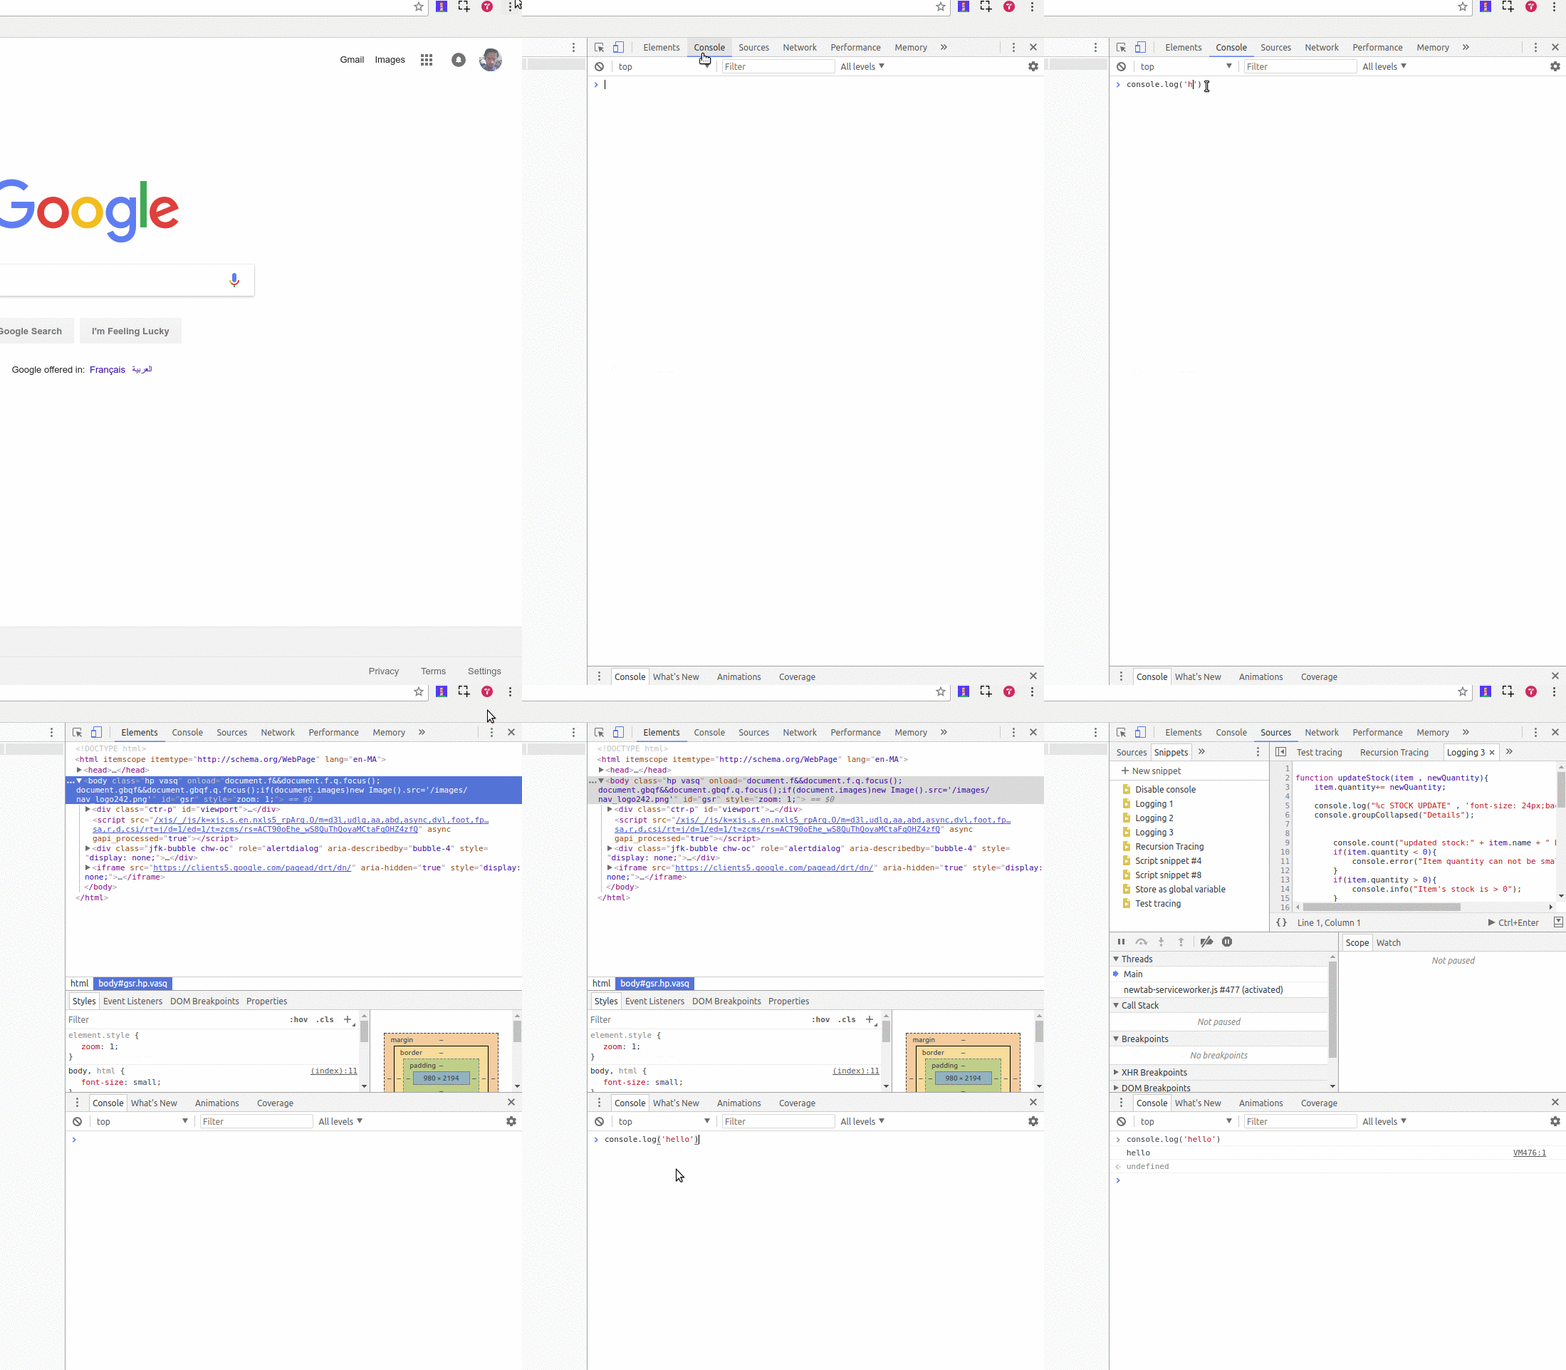
When working with the browser's console, if you want to enter multi-line expressions you need to use Shift + Enter, because just Enter will execute what's in the input line at that moment.
You can clear the console history in different ways:
clear() in the consoleconsole.clear() method in the console or JavaScript codeCTRL+L in macOS, Windows and Linux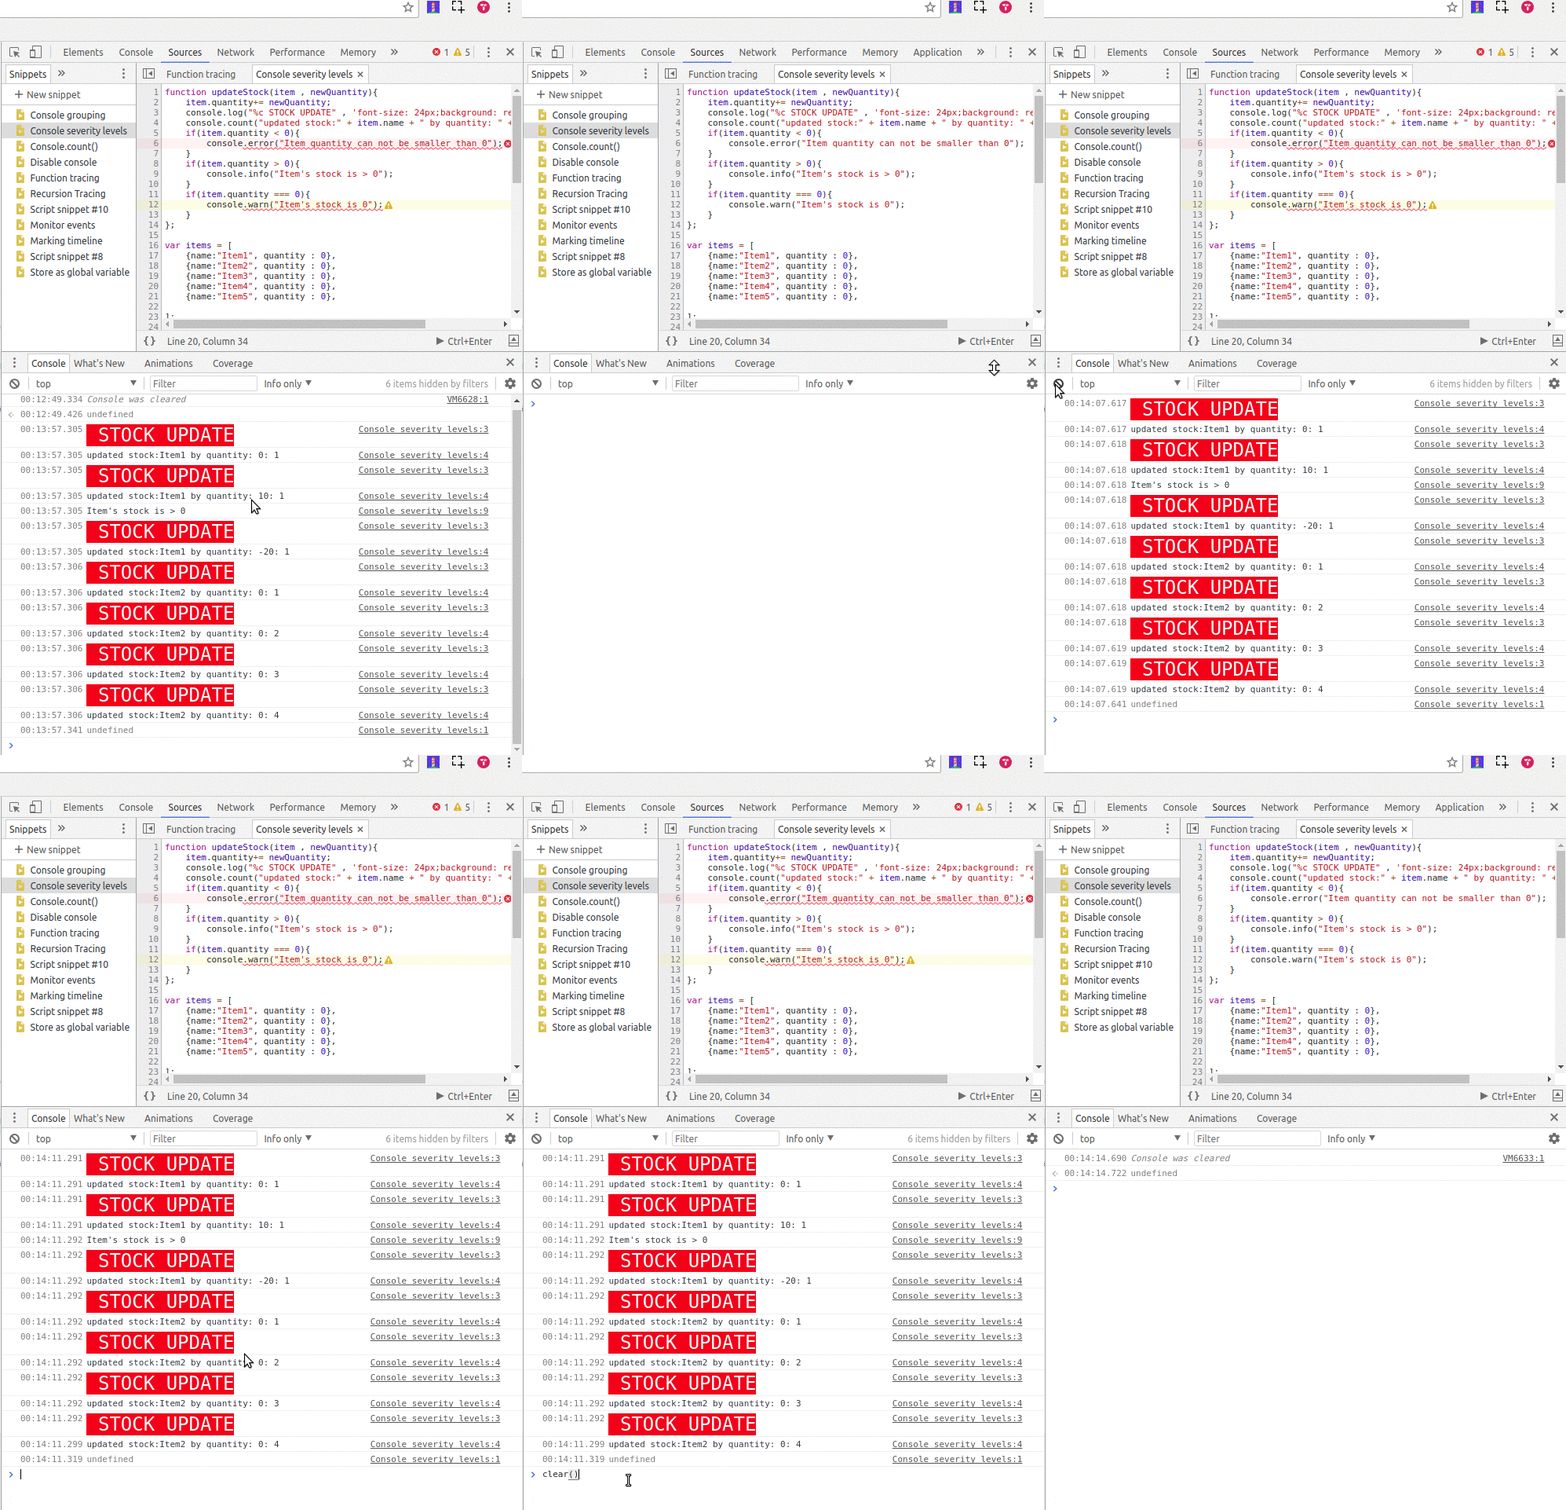
You can preserve the log (by enabling the Preserve log checkbox) between page refreshes or changes until you clear the console or close the tab.
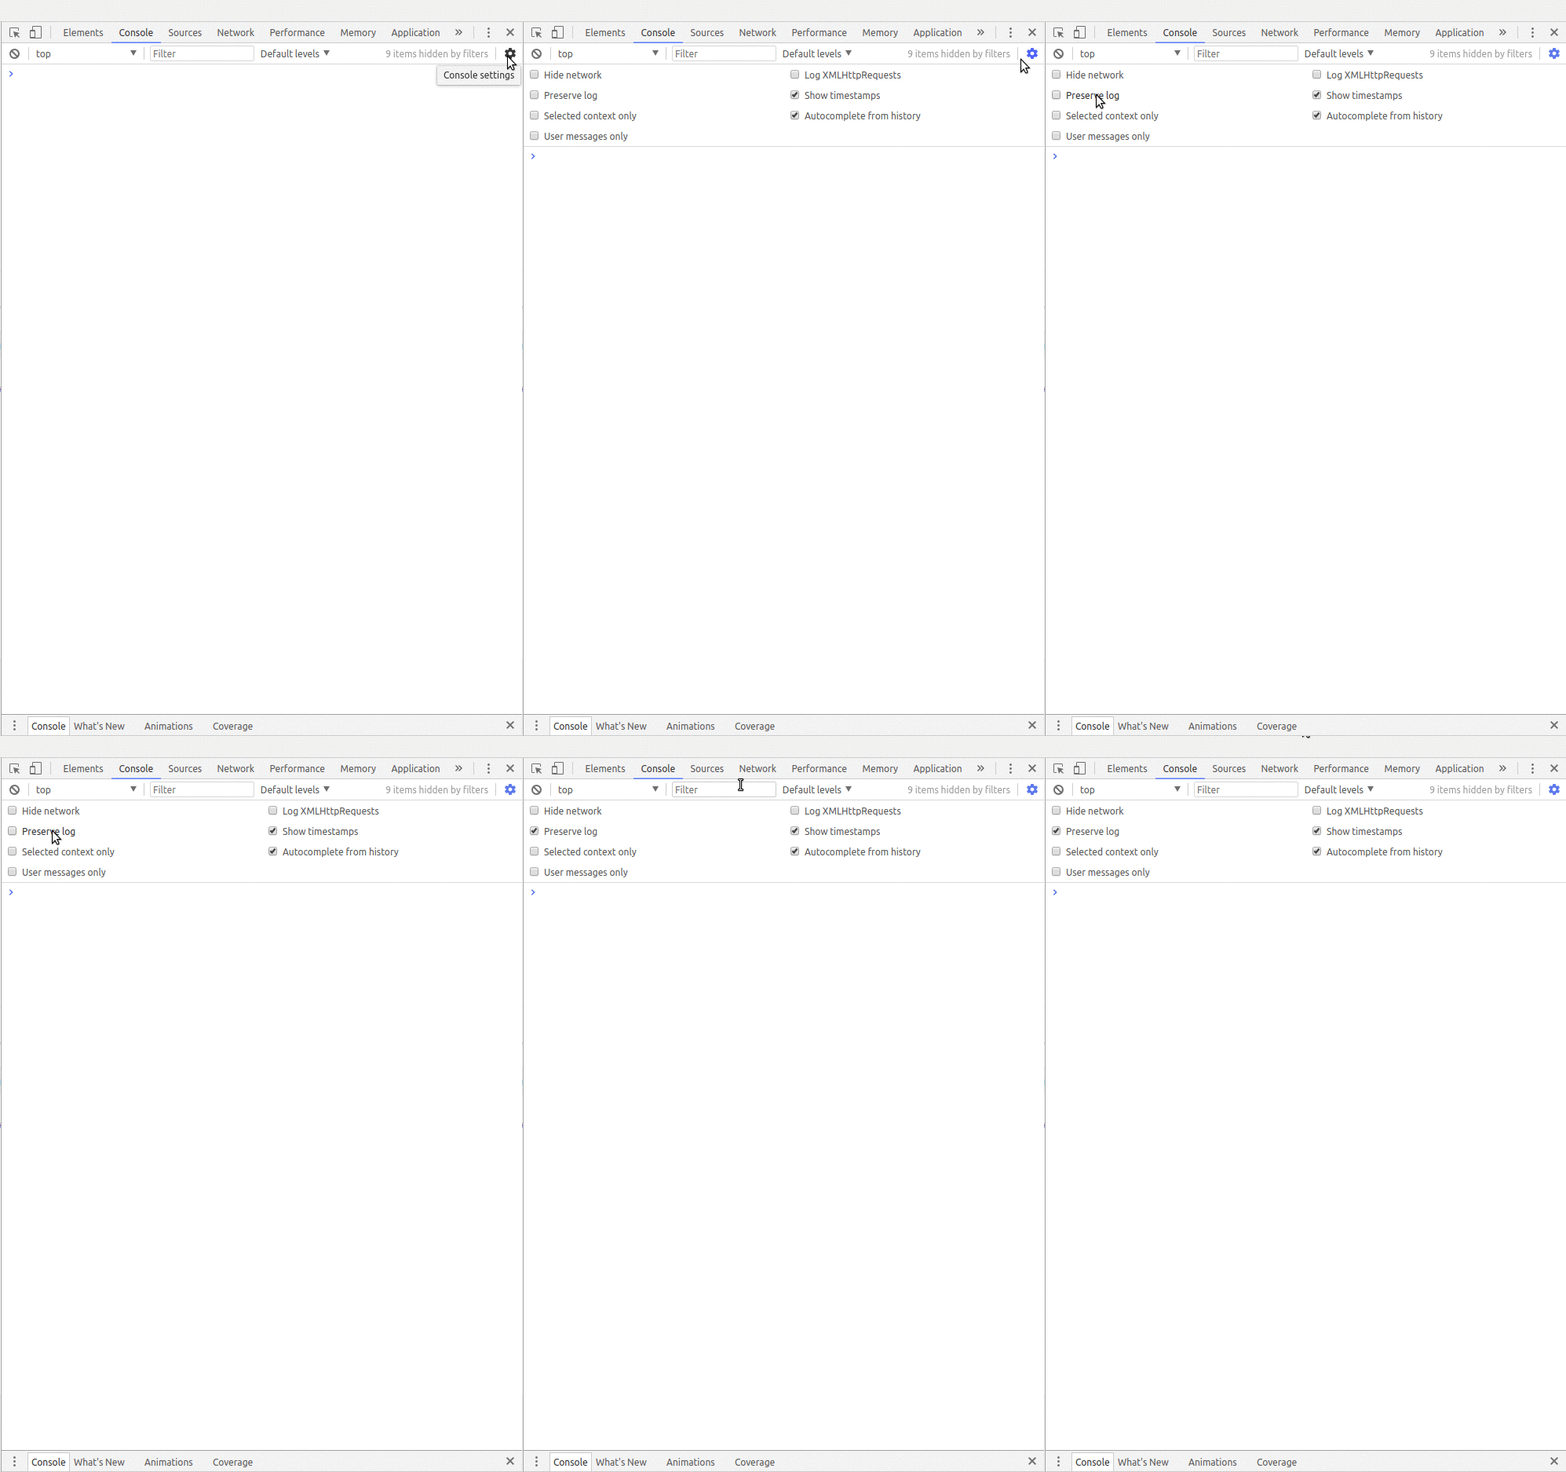
You can save the history in the Console as a text file by right-clicking in the console and selecting Save as…, then choosing the location of a log file.
The variables you create in the Console are persisted until you do a page refresh, so pay attention to when you're using keywords such as let or const when declaring variables. Running the same code or function for the second time will throw an Uncaught SyntaxError, saying that the identifier has already been declared. You can either use the OR (||) operator to check if the variable is already defined or you can use var to declare variables, since it doesn't complain for previously declared variables.
The post Optimization Auditing: A Deep Dive into Chrome’s Dev Console appeared first on SitePoint.
‘Browny’ is a free CV-style One Page HTML template built on the Bootstrap Framework. The long-scrolling resume template features a fixed header navigation that smooth scrolls to sections, and intro biography, skills graph, work history timeline, a simple portfolio section that needs to link out, client logos and ends with a contact form. Thanks for another generous freebie ThemeSINE!
|