We’ve previously written about Geth, one of the most popular Ethereum nodes.

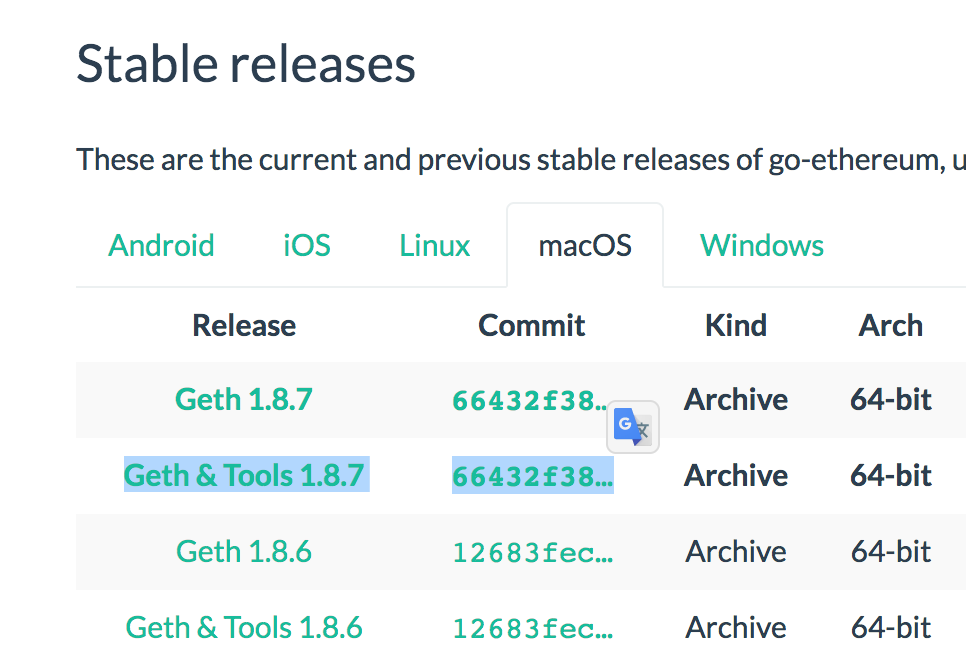
When you install Geth with helper tools, it comes with a handy tool called Puppeth, which you can use to maintain and install various helper tools for managing and deploying your private blockchain. Puppeth can also be installed independently if you have Go installed, with the following command:
go get github.com/ethereum/go-ethereum/cmd/puppeth
Let’s take a look at the tool.
Note: this tutorial will require you to have two remote machines at your disposal. Whether that is a virtual machine like Homestead Improved or an actual server on your network, or a combination of the two, doesn’t matter. We’ll go through the setup procedure with VMs in this tutorial.
Note: due to a bug in Puppeth, this approach might not work if your virtual machines (see below) are too small. Either make bigger VMs (more RAM) or wait for a fix if that’s not an option.
Bootstrapping
We’ll follow this process to get two virtual machines up and running. We need two machines because we’ll be running two Ethereum nodes, each on its own IP address.
Note: This is a limitation of Puppeth, as it’s not possible to deploy a sealing node on the same machine using this tool.
If you don’t know what Vagrant is, and what tools we’re using here, we recommend you read this introduction to Vagrant, which breaks it down in a newbie-friendly way.
mkdir my_project; cd my_project
git clone https://github.com/swader/homestead_improved hi_puppeth1
git clone https://github.com/swader/homestead_improved hi_puppeth2
Change the IP address of the second clone by going into the hi_puppeth2 folder and modifying the IP address field to be 192.168.10.11 instead of 192.168.10.10.
Next, open up some ports on the VMs by modifying each clone’s Homestead.yaml’s final section, like so:
 ports:
     - send: 8545
       to: 8545
     - send: 30301
       to: 30301
     - send: 30302
       to: 30302
     - send: 30303
       to: 30303
     - send: 30304
       to: 30304
     - send: 30305
       to: 30305
     - send: 30306
       to: 30306
Don’t forget to add these virtual hosts into your host machine’s /etc/hosts file as well. Otherwise the VMs won’t be accessible by their domain name!
192.168.10.10 homestead.test
192.168.10.11 puppethnode.test
Note: change the IP addresses if the addresses of your VMs differ.
Finally, run vagrant up; vagrant ssh to boot each machine and SSH into it. Remember to run this from two separate tabs so you can keep both machines open and running.
Prerequisites
Now let’s install the prerequisite software on each machine.
Puppeth runs helper applications and Ethereum nodes for you in Docker containers, so we need Docker. It’s also useful to install Geth itself.
sudo add-apt-repository -y ppa:ethereum/ethereum
sudo apt-get update
sudo apt-get install \
    apt-transport-https \
    ca-certificates \
    curl \
    software-properties-common \
    ethereum \
    docker.io \
    docker-compose
All other prerequisites will be pulled in by Puppeth through docker itself, but we need to make sure the current user is allowed to operate Docker commands first:
sudo usermod -a -G docker $USER
On the host machine (outside the VMs), we should create new Ethereum accounts in the folder where we’re running our project.
If you’re using the VMs as suggested above, that can be in myproject if myproject is the parent folder which contains hi_puppeth1 and hi_puppeth2.
mkdir node1 node2
geth --datadir node1 account new
geth --datadir node2 account new
Make a note of the addresses generated by this process:
$ mkdir node1 node2
$ geth --datadir node1 account new
INFO [05-20|10:27:20] Maximum peer count                       ETH=25 LES=0 total=25
Your new account is locked with a password. Please give a password. Do not forget this password.
Passphrase:
Repeat passphrase:
Address: {aba88be2dc16eaed464e3991eed5a1eaa5e7b11b}
$ geth --datadir node2 account new
INFO [05-20|10:27:35] Maximum peer count                       ETH=25 LES=0 total=25
Your new account is locked with a password. Please give a password. Do not forget this password.
Passphrase:
Repeat passphrase:
Address: {655a6ea9950cdf9f8a8175fda639555f17277bdf}
We need two accounts because at least two signers are needed in a Proof of Authority blockchain (more on that later).
Puppeth
Now that our VMs are running and our accounts are initialized, let’s see what Puppeth offers. With the remote servers/VMs still running, in a new tab on your host machine run Puppeth with puppeth.
The first thing it’ll ask for is the network name. This is useful for identifying various blockchains if you’re running several on your local machine. We’ll use “puptest” here.
Please specify a network name to administer (no spaces or hyphens, please)
> puptest

Sweet, you can set this via --network=puptest next time!

INFO [05-20|10:32:15] Administering Ethereum network           name=puptest
WARN [05-20|10:32:15] No previous configurations found         path=/Users/swader/.puppeth/puptest
Now let’s connect to our “remote” servers so that Puppeth has them in the list and can do operations on them.
The post Using Puppeth, the Ethereum Private Network Manager appeared first on SitePoint.
by Bruno Skvorc via SitePoint
No comments:
Post a Comment