This article was created in partnership with WRLD. Thank you for supporting the partners who make SitePoint possible.
Since the late 2000s, maps have been a staple of the web, and today are more ubiquitous than ever. They have a variety of uses, from complementing a company's contact page to plotting places of interest across a geographic region. As computing power is becoming more affordable, 3D maps have gained popularity, demonstrating the scale of buildings and the nature of the surrounding terrain, adding a touch of novelty to such experiences, as well as providing practical benefits.
One such provider of 3D maps is WRLD. Major cities such as New York, London, Paris and Bangkok have been generated in 3D using real geographic data. This data can be used to author custom maps containing points of interest and other useful metadata, and thanks to their Leaflet-driven JavaScript library, it's possible to drop them into a web page with a few lines of code; this workflow will be the focus of our article.
Using WRLD's map designer, we will build a map for a coach holiday, which we will then integrate into a Node.js-powered website.
Getting Started
Before we can use WRLD's map designer, we must register. Sign in once you've created and verified your account.
Navigate to the Map Designer. This page will list any maps that you have created, as well as allowing you to create new ones. Click on Create Map to launch the designer.
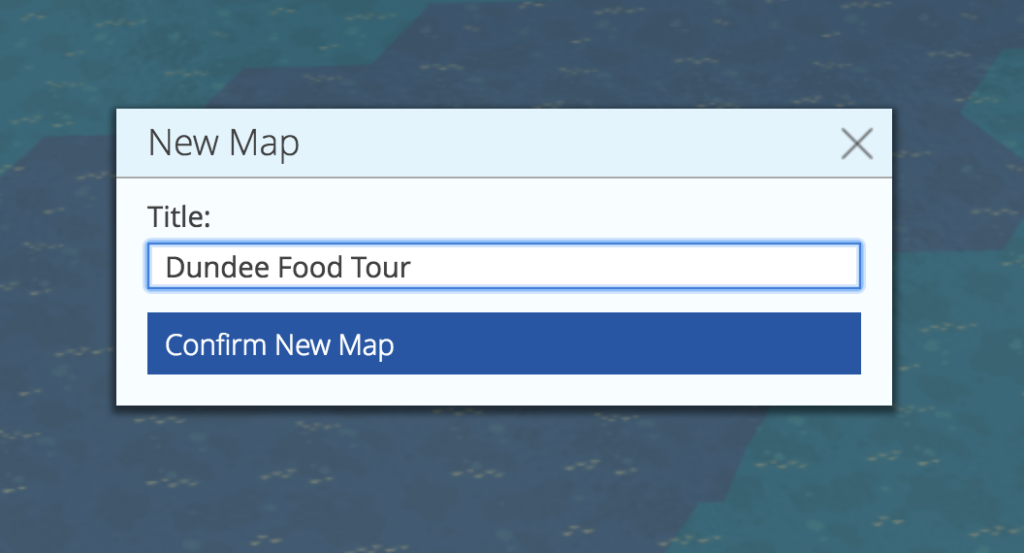
Together, we're going to create a map for a Dundee food tour. Click New Map on the left and in the resultant New Map modal, enter a title of Dundee Food Tour and then hit Confirm New Map.
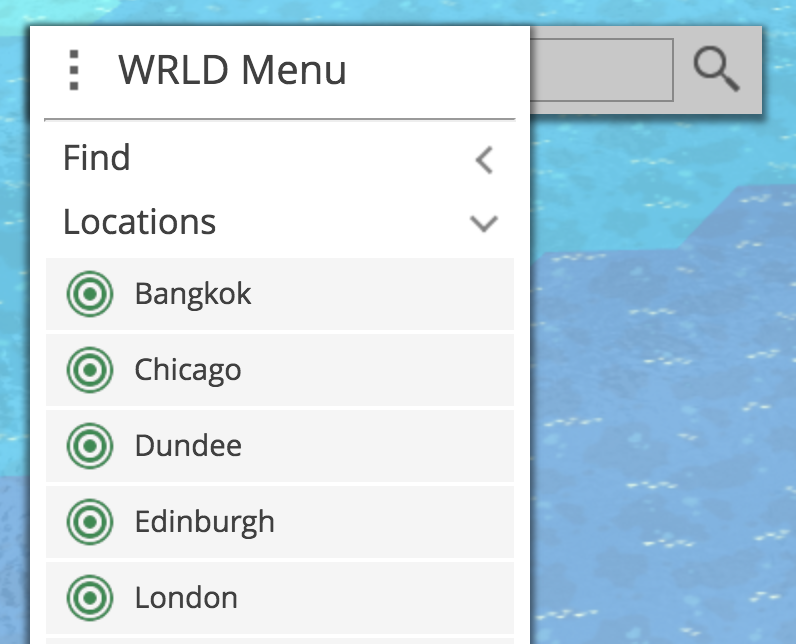
Now that we've created our map, we need to choose a starting location. Click the menu button next to the search input, click Locations, and choose Dundee.
Adding Our First Place
To add locations to our map, we have to use WRLD's Places Designer, which facilitates the creation of place sets that can then be imported and reused.
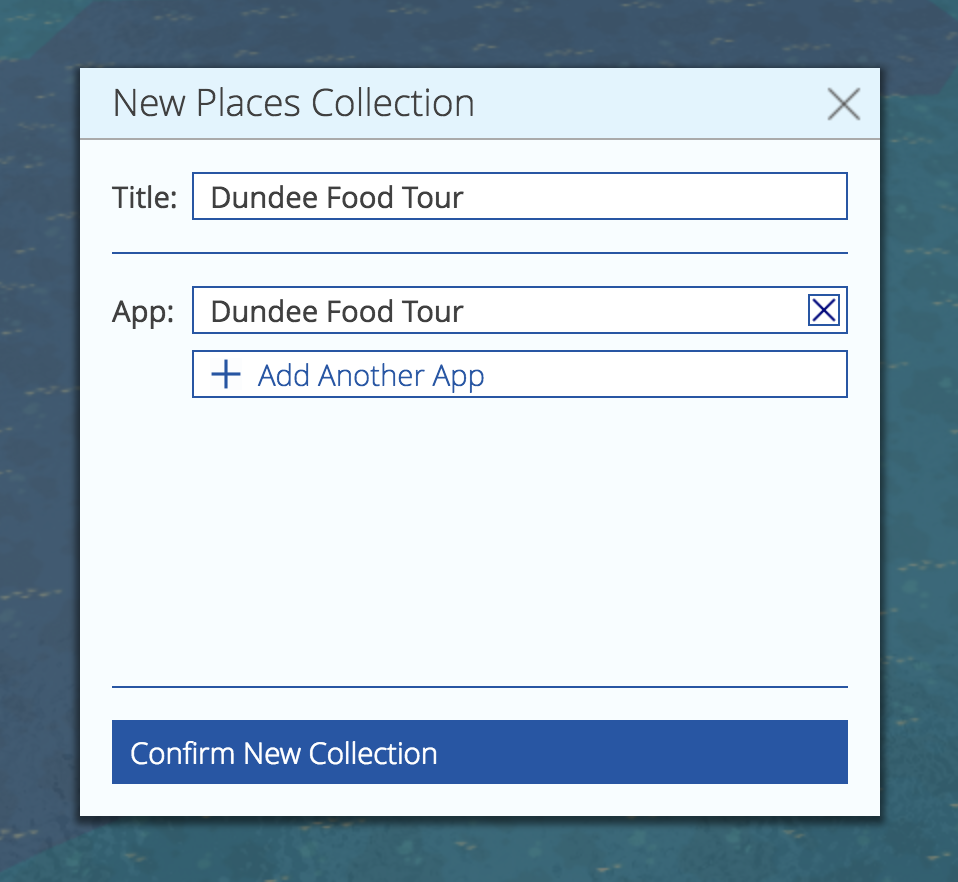
On the right, click the place marker icon, followed by Manage Place Collections. This will open the designer at the same geographical location. Let's add our first places collection by clicking New Places Collection. Set the title to Dundee Food Tour and then add a reference to our Dundee Food Tour app, which will link the places collection with our map. Finalise this with Confirm New Collection.
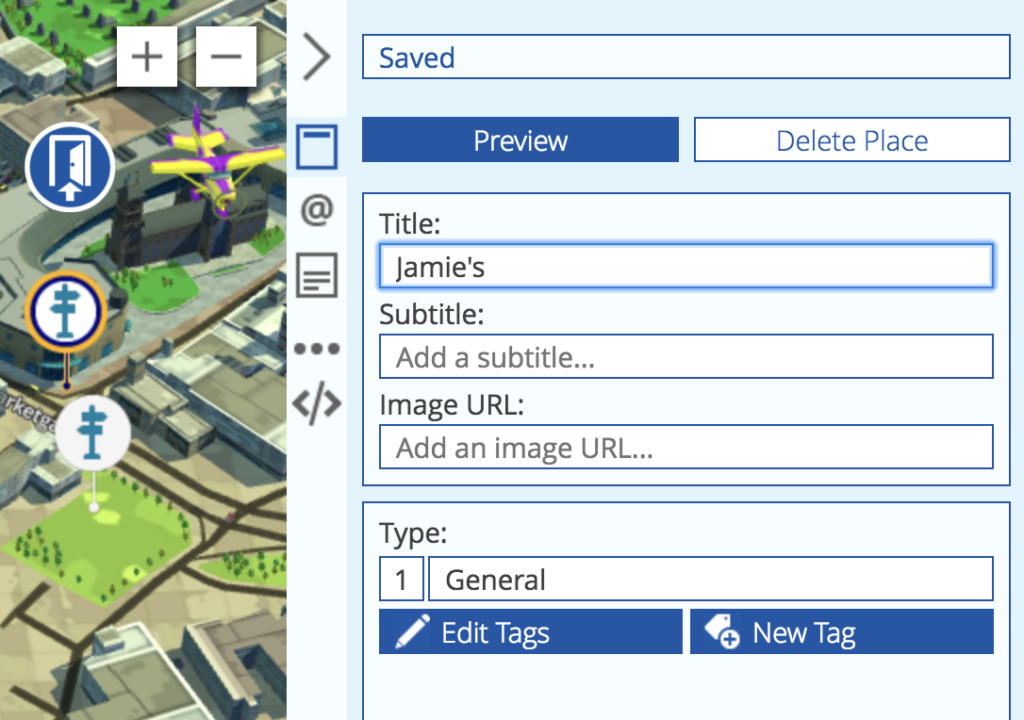
Click New Place Marker next to the search box. A marker should appear on the Googleplex building, but it can be dragged into place if necessary. In the pane on the right, enter a title of Googleplex — this will save automatically.
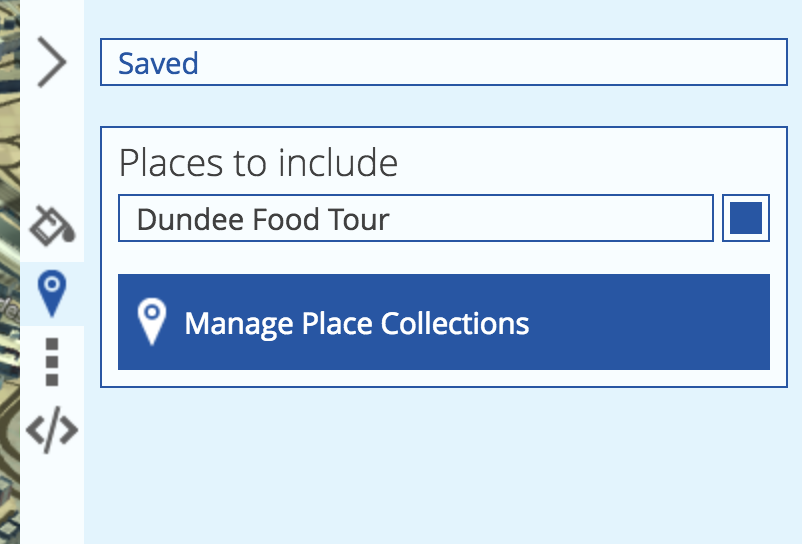
Add as many places as you'd like following this approach, and return to the Map Designer once you feel that you have enough. Our new collection should have been detected and automatically included in our map, but we can configure this manually by clicking the places marker on the right and selecting our place set.
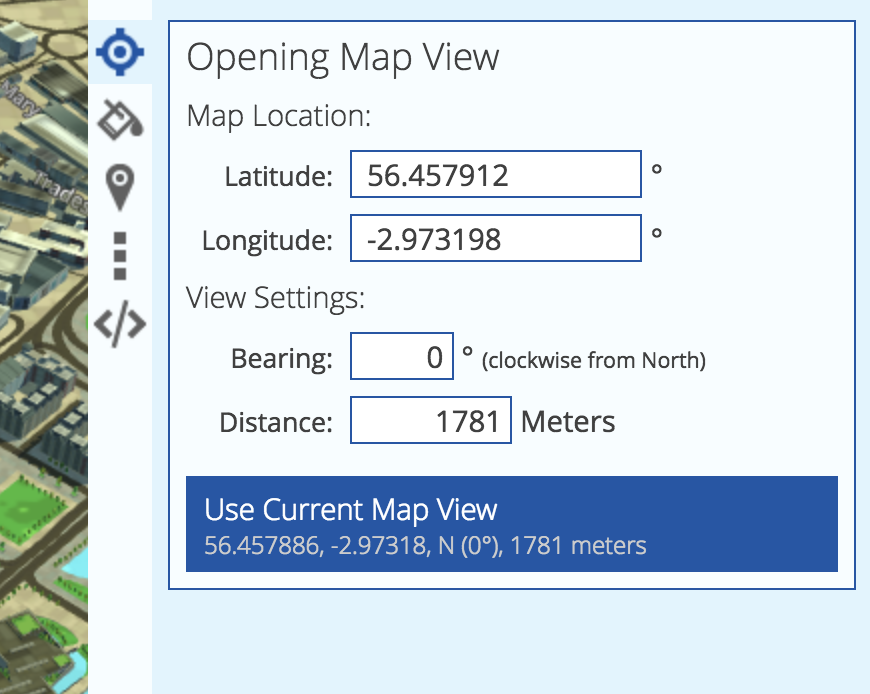
Before we display the map on our website, we should set a starting point. Drag and zoom the map until you've found an optimal view, then, using the crosshair icon on the right, open the Opening Map View form and click Use Current Map View.
Including the Map on a Website
Despite the impressively-detailed 3D modelling provided by WRLD, the real power of this platform is the ability to embed maps into websites and other applications. As well as exposing a variety of HTTP APIs for directly querying data, there are libraries for rendering maps on many platforms, including iOS, Android, and the web. We will use the wrld.js library, which is also available on npm.
Setting Up
The boilerplate website to which we will add our map can be found at GitHub. Please clone this repository and install the required dependencies:
git clone https://github.com/jamesseanwright/wrld-tours.git
cd wrld-tours
nvm install # this will install the version of Node.js found in .nvmrc. Make sure nvm is installed
npm i
To verify that the project works as expected, run npm run watch; this will start the project using nodemon, restarting automatically when any changes are made. Upon opening http://localhost:8001/trips in your browser, you should see a list of trips with a sole item.
Grabbing and Configuring your Developer Token
Our application will consume data from two of WRLD's HTTP APIs, which are protected by developer tokens. To acquire your token, sign in and head over to the My Account section, and click the Developer Token tab; make sure you copy it.

In our app's codebase, open config.json in the server directory, and paste your token as the value of devToken; this property will be used to make the aforemntioned API calls covered in the next step.
{
    "devToken": "insert your dev token here"
}
Calling WRLD's HTTP APIs
Open the project in your editor, and head to the trips.json file in the server directory. This is a hash map of all of the available trips listed on our website, keyed by a hyphen-separated slug. These are accessible via the /trips route, so we can reach the Dundee Food Tour via /trips/dundee-food-tour. You'll notice that the entry for the Dundee Food Tour has two empty properties, mapSceneId and poiSetId. We will return to this shortly.
Let's take a look at the client-side code that fetches the map data. Open TripView.js (not TripViews.js) in the client/views directory and study the onNavigatedTo method. This calls two endpoints that are provided to the client by the server:
const [mapScene, poiSet] = await Promise.all([
    callEndpoint(endpoints.mapScene),
    callEndpoint(endpoints.poiSet),
]);
These don't directly point to the WRLD APIs. Rather, they are exposed by our own server so that our developer token is not leaked to the browser. Let's take a look at these routes in server/apiRouter.js:
router.get('/mapscenes/:id', (req, res) => {
    res.status(404).send();
});

router.get('/pois/:poiSetId', (req, res) => {
    res.status(404).send();
});
Currently, they behave as if they do not exist. To implement them, we can use the already-imported request module to forward our requests to the respective WRLD APIs and stream this back to the browser:
router.get('/mapscenes/:id', (req, res) => {
    request.get(`https://wrld.mp/v1.1/mapscenes/${req.params.id}?token=${config.devToken}`)
        .pipe(res);
});

router.get('/pois/:poiSetId', (req, res) => {
    request.get(`https://poi.wrld3d.com/v1.1/poisets/${req.params.poiSetId}/pois/?token=${config.devToken}`)
        .pipe(res);
});
Whenever the client-side JavaScript is evaluated for a trip, it will call these endpoints with the relevant IDs, keeping the developer token away from the browser.
Verifying Our Endpoints
To check that this has worked, we can call our own API endpoints directly. To get the respective IDs for our mapscene and place collection, we can call the WRLD APIs directory with our developer token, i.e.:
https://wrld.mp/v1.1/mapscenes/?token=[your dev token]https://poi.wrld3d.com/v1.1/poisets/?token=[your dev token]
We can then take the id properties and pass them to our own local endpoints e.g. http://localhost:8001/api/mapscenes/10786 and http://localhost:8001/api/pois/4149. If we have implemented these routes correctly, then we should receive data from the WRLD APIs.
Updating the Trip Definition
Return to the trips.json file. Remember the two empty properties, mapSceneId and poiSetId? Set their respective values to the IDs you took for the mapscene and place collection e.g.:
"mapSceneId": "10597",
"poiSetId": "4160"
Rendering the Map
We're now ready to plot the API data onto a browser-rendered map. Let's return to the TripView.js file.
The post How to Build a Coach Holiday Showcase with WRLD appeared first on SitePoint.
by James Wright via SitePoint

